Category Archives: Art & Design

Art & Design

Project Ideas with LEDs and 3D Printer

My partners and I have brainstormed these ideas:

  • Jack o lantern
  • Lit up charger horse
  • Timer
  • Operation style game
  • Christmas theme light sweater
  • Bracelet with LEDs inside
  • High five/fist bump wrist bracelet
  • Magical box with lights inside
  • Dragon nutcracker

Top Four Ideas:

  • Trash can basketball hoop
  • Jack o lantern
  • Magical box
  • Open/Exit Sign

Top Four Ideas from Each Table:

  • Jack o lantern
  • T-rex with lighted eye
  • Table catapult
  • Small Christmas tree
  • Etch a Sketch
  • Twister  square the light up
  • Light saber
  • Impossible box
  • Trash can basketball hoop
  • Jack o lantern
  • Magical box
  • Open/Exit Sign

Project Ideas with LEDs and 3D printer

My partner and I have brainstormed these ideas:

  • Christmas tree
  • Light Up Reindeer decoration
  • A Jack-o-lantern that light ups in the middle
  • Flashlight
  • T-Rex with red light-up eyes
  • (Rubik’s) Cube

Top 4 ideas:

  • Jack-o-lantern
  • T-Rex with light up eyes
  • Catapult
  • Christmas Tree
  • Light up Etch-a sketch
  • light up twister
  • light sabers
  • The impossible box
  • light up trash basketball hoop
  •  Magical Box- when you open it up, it lights up
  • Sign

Ideas for Things

Ideas from the genius minds of JON and CASEY

LED 3D Printed Rubber Ducky

LED 3D printed phone case

LED 3D printed mini goal with soccer ball

LED 3D recycle bin

LED 3D printed glasses

———————————————————————–

The Top 4 from the genius table

IDEAS from JON, CASEY, ENOCH, and EMMA

Light up Phone Case

Light up Rubber Ducky

Light up responsive recycling basket

Light up Sneakers

——————————————————————————

The Top 4 from the other Table

Light up sword

Lantern

Light up notebook

Light up keychain for your backback

LED it Up

circuit

circuit board 2

circuit board

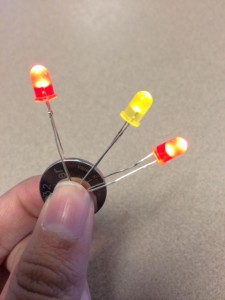
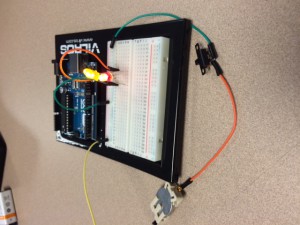
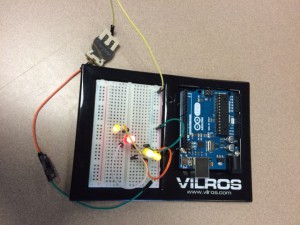
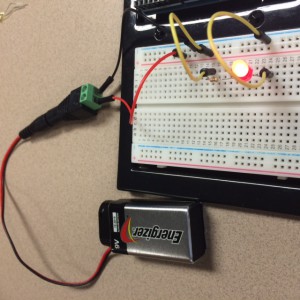
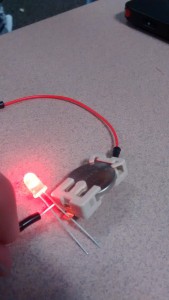
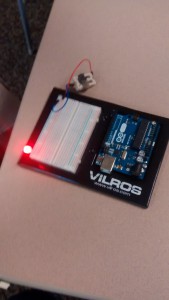
For this project, we had to watch videos in which Ms. MacDonald shows the basics of completing a circuit. In the first picture, we learned that each LED bulb has a positive and negative wire that has to correspond to the sides of the battery in order for the light to light up. In the second and third picture, we learned about breadboards and how they can complete a circuit. Both circuits contains a switch and battery along with many wires to make a complete circuit. I also learned that the breadboard has positive and negative sides that have to be used correctly for the light to work. Another thing that I learned was that the switch only works when both wires are connected to one side. There are three little holes on the switch and if the two wires that are connected to the switch are connected to the left and middle hole, then the switch has to be on the left side for the circuit to be closed. I also learned that this is true on the right side as well.


Intro to Circuits

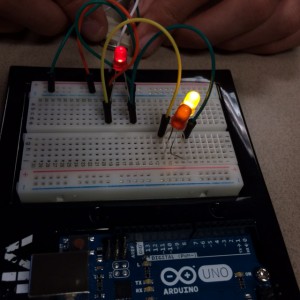
Over the past two classes we have learned much about electrical circuits and how they work. We began with a very basic circuit: one that had an LED light that was connected to a 3 volt battery. Then we moved onto using 9 volt batteries with resistors. We learned that by itself a 9 volt battery is too powerful to power an LED as it will burn it out, but with a resistor a 9 volt battery only provides enough to power the LED. We then learned how to use breadboards and switches and how they both worked. We learned that with a breadboard you can power multiple LED instead of just one and that a switch allows you to decide when you want to power something. At the end we put all of this knowledge together which resulted in a breadboard powering multiple LED lights that had both a switch and a resistor.

Here is us powering a breadboard with a 3v battery:

IMG_1091


Here later along is us powering the breadboard with a 9v battery using a resistor:

IMG_1092

A Container for Pencils

In this project we created a pencil container that would fit into the hole in the table nicely. We had to measure the hole for the container to fit into. We also measured out the dimensions for the container. Then we designed the container. In the end we felt that our container turned out very well.

The Container


Sketchup hangers for USB drives

Our group decided to try to make a hanger sketchup for USB drives. We went through many different pictures on the internet to search for a design that we liked to do. When we finally selected a design, I had the picture up on my computer and Kiera had the sketchup up. We worked on trying to recreate the image while adding our own twists to the project as well. The result is a 3D model of a hanger that may be used to hang the USB drives in the makerspace.


usb hanger

A Complex Solution for a Simple Problem: Storing USB Drives

Our group decided to take on the task of making a storage system for the three USB drives that the Art and Design class possesses. We drew three different designs, each looking vastly different from the others, but the one that we ended up with resembled a protruding wheel that had four spokes jutting out. We designed the contraption in three parts: the first being the base that would support everything else, the second which would hold the spokes, and the third which would resemble a washer and keep everything together. We are very proud of our result and hope that it will serve the Maker Space well.USBWheel1


Part One – The Base


Part Two – TUSBWheel2he Wheel


USBWheel3 Part Three – The Washer

Learning Sketchup

During the past couple of days in the art and design class, we learned a lot about how to use sketchup to make interesting 2D and 3D shapes. For this project, we learned how to make chairs, a table, and a rug in the sketchup program. One of the many things we learned in sketchup was how to use a push and pull tool to take a 2D object and make it 3D. Creating the chair allowed us to learn that this tool could also be use to take 3D objects, and carve pieces out of them. Creating the carpet allowed us to learn how to change the pattern of objects. Overall in this class, we learned a lot about how to use sketchup and I thought it was a very interesting experience.

sketch up chair

Learning SketchUp

In the process of learning SketchUp, I learned how to copy and paste items. I also learned how to rotate and move the items to form a shape. I also learned how to push and pull sides of the piece with the push pull tool. Finally, I learned how to make models of things in SketchUpSwanson Chair