

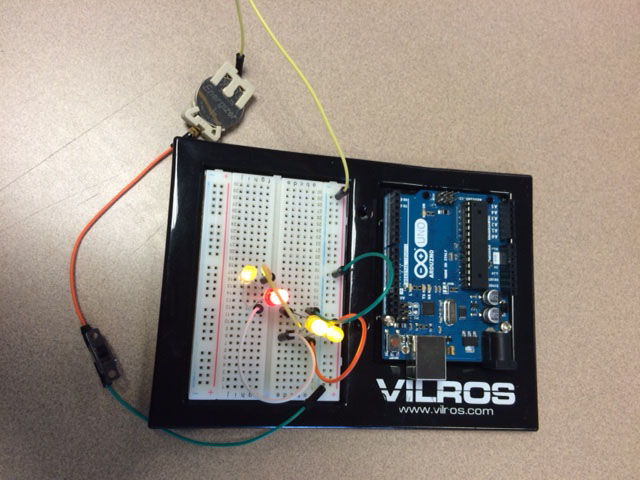
For this project, we had to watch videos in which Ms. MacDonald shows the basics of completing a circuit. In the first picture, we learned that each LED bulb has a positive and negative wire that has to correspond to the sides of the battery in order for the light to light up. In the second and third picture, we learned about breadboards and how they can complete a circuit. Both circuits contains a switch and battery along with many wires to make a complete circuit. I also learned that the breadboard has positive and negative sides that have to be used correctly for the light to work. Another thing that I learned was that the switch only works when both wires are connected to one side. There are three little holes on the switch and if the two wires that are connected to the switch are connected to the left and middle hole, then the switch has to be on the left side for the circuit to be closed. I also learned that this is true on the right side as well.