All posts by kennedyb557

Project Ideas for LEDs and 3D Prints

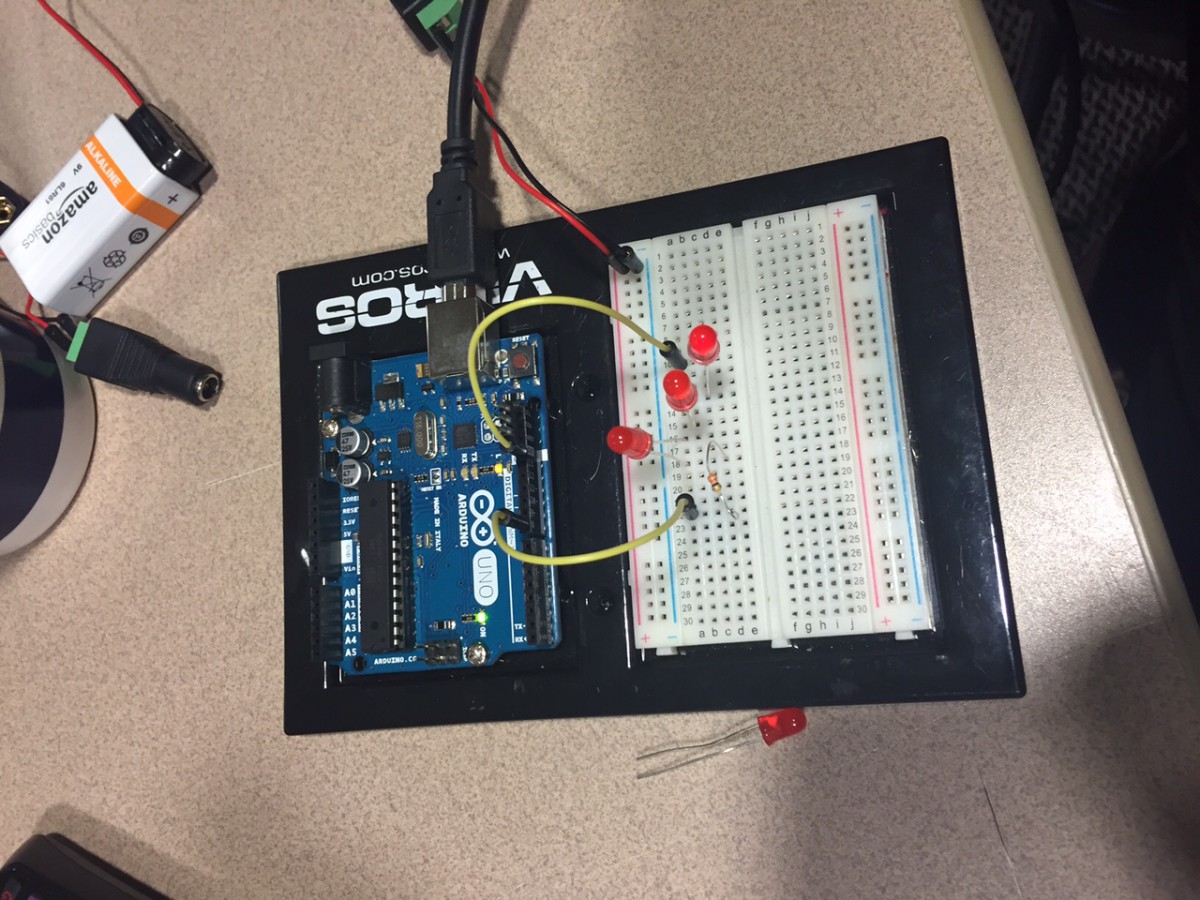
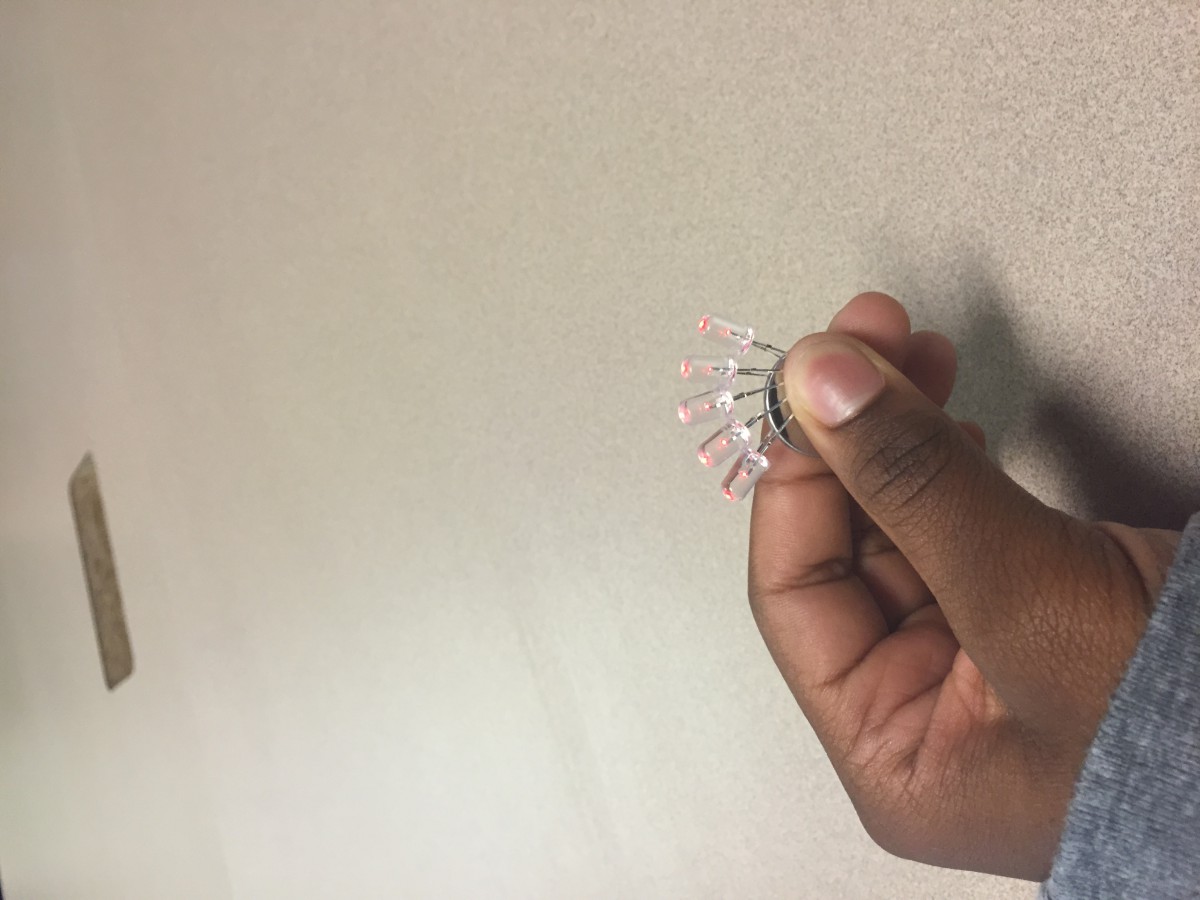
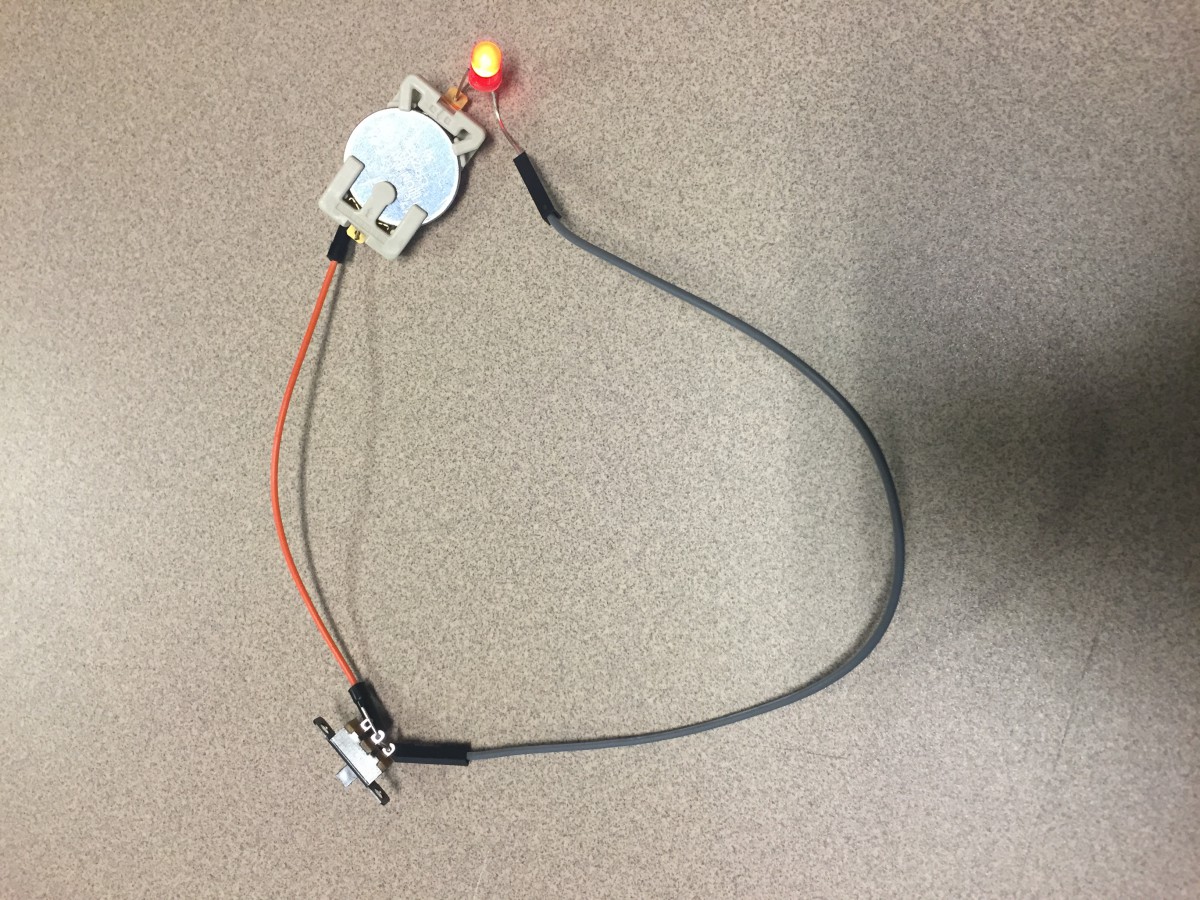
My partners and I are brainstorming about projects we could make with a 3D printed design that uses LEDs:

1. light up jewelry box w/sensor so it lights up when opened

2. fold up mirror, lights up when open

3. translucent ball with lights on inside, throw it and it lights up

4. backpack with lights in it

5. hover board/ bike with lights on the wheels

6. light-up pendant for a necklace

7. a pencil case that lights up

8. sunglasses that light-up

9. bangles with LEDs that are sensitive to motion

10. a tablet case or computer skin that lights up

11.stickers/magnets that light up

12. shoes that have light up soles

Top  table ideas:

1.phone case

2. computer skin/case

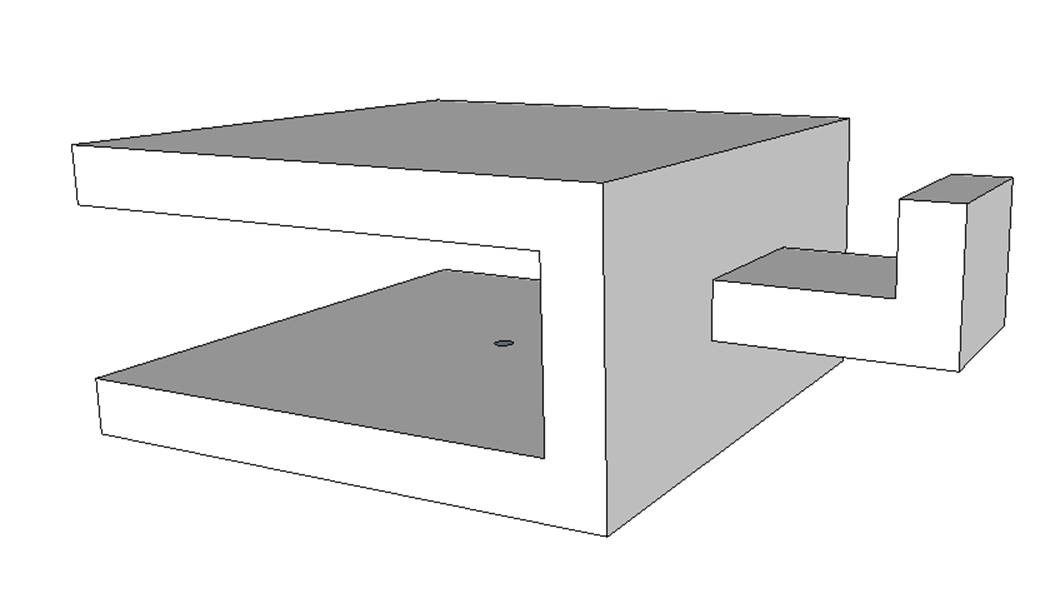
3.jewelry box w/sensor so it lights up when opened

4.watch

5. car with light up wheels

6. LED lamp

7. light up ball

8. glasses with lights (triggered by blinking)

9. light up clock where numbers light up

10. light up charger (changes based on battery level)

11. light up phone case


Arduino, Breadboard, and Circuiting

IMG_1565 IMG_1572 IMG_1573 IMG_1562

IMG_1564


In class we started with basics and moved into the more complicated aspects of lighting LEDs. We first determined the positive from the negative ends of lights and batteries so that we could successfully make a circuit with a 3 volt battery. Next we moved into doing that will a switch so that you can control when the light is on and off. I then proceeded to using a breadboard where you used the cables to connect to a 9 volt battery. To make it a little more complicated you added a switch to the breadboard circuit you already made. Next I made it where the light could blink using code on half a second intervals. Lastly I created it where three lights could be connected and light using programming with the Arduino.

Makerspace Accessory Experience

During art & design we were given an assignment where we have to create and accessory that will be an asset to the Makerspace. I got together with my group of Elizabeth, and Maggie. Out of the options that we were given we decided to make a USB holder. As we brainstormed we came up with three ideas. The first was a basket on the refrigerator, a clamp onto the front table, and hooks to hang on the wall. While we considered what would be the most useful we choose the clamp on the table. I think that it will be easy to access, secure, and is very creative. From there we measured the table and created it on SketchUp using the skills I talked about in my previous post. To insure that the clamp would be secure we added a hole for a screw. Knowing that this is a competition I am confident that this design will be very successful.

usb holder

Learning SketchUp

This past week in class we used and explored with the design app SketchUp. We learned how to use the different tools to assist us while creating our objects. The main ones that became the most prominent and useful were scale, orbit, push/pull, and guides. With those tools we created six chairs with one at a different angle and a table on top of a carpet. With the basic skills that we used I am confident to use SketchUp to create my own designs later in this class.

table and chair