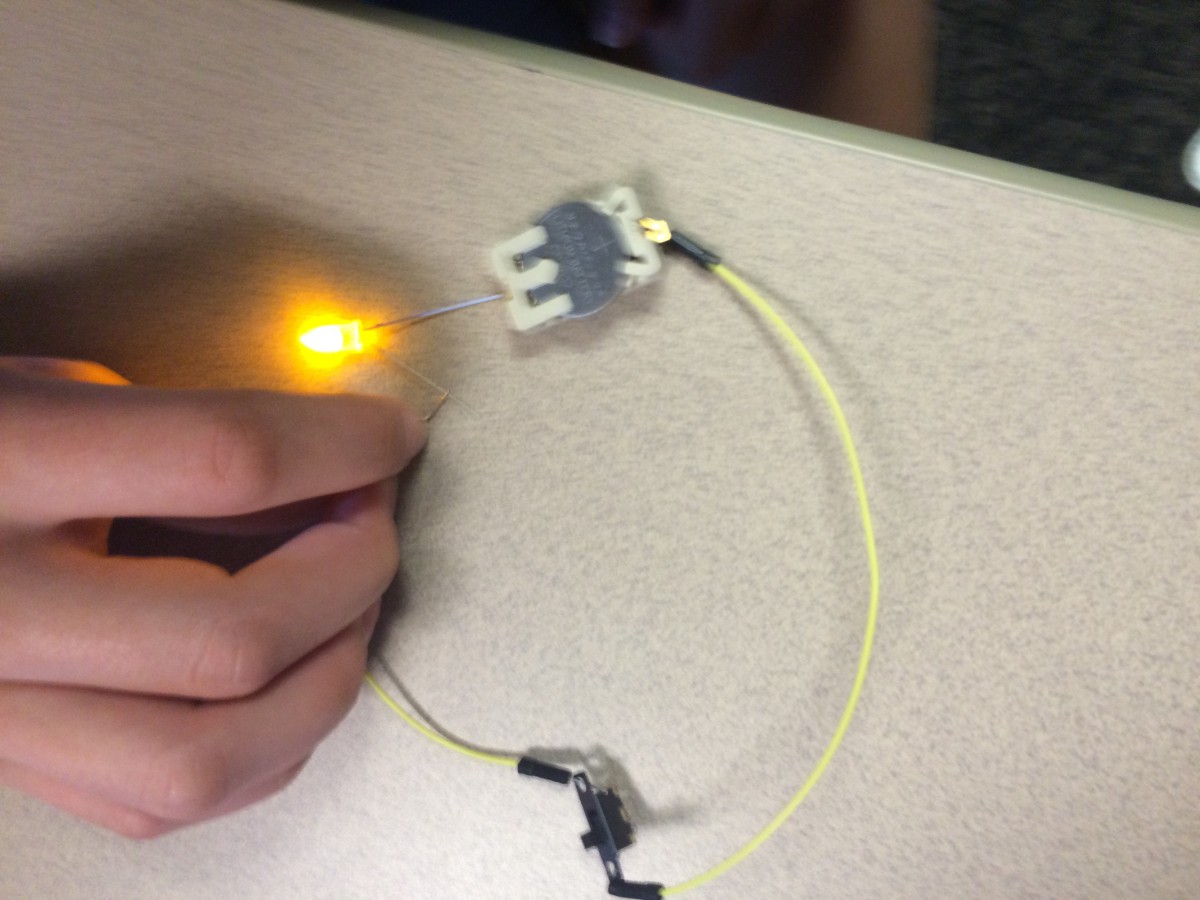
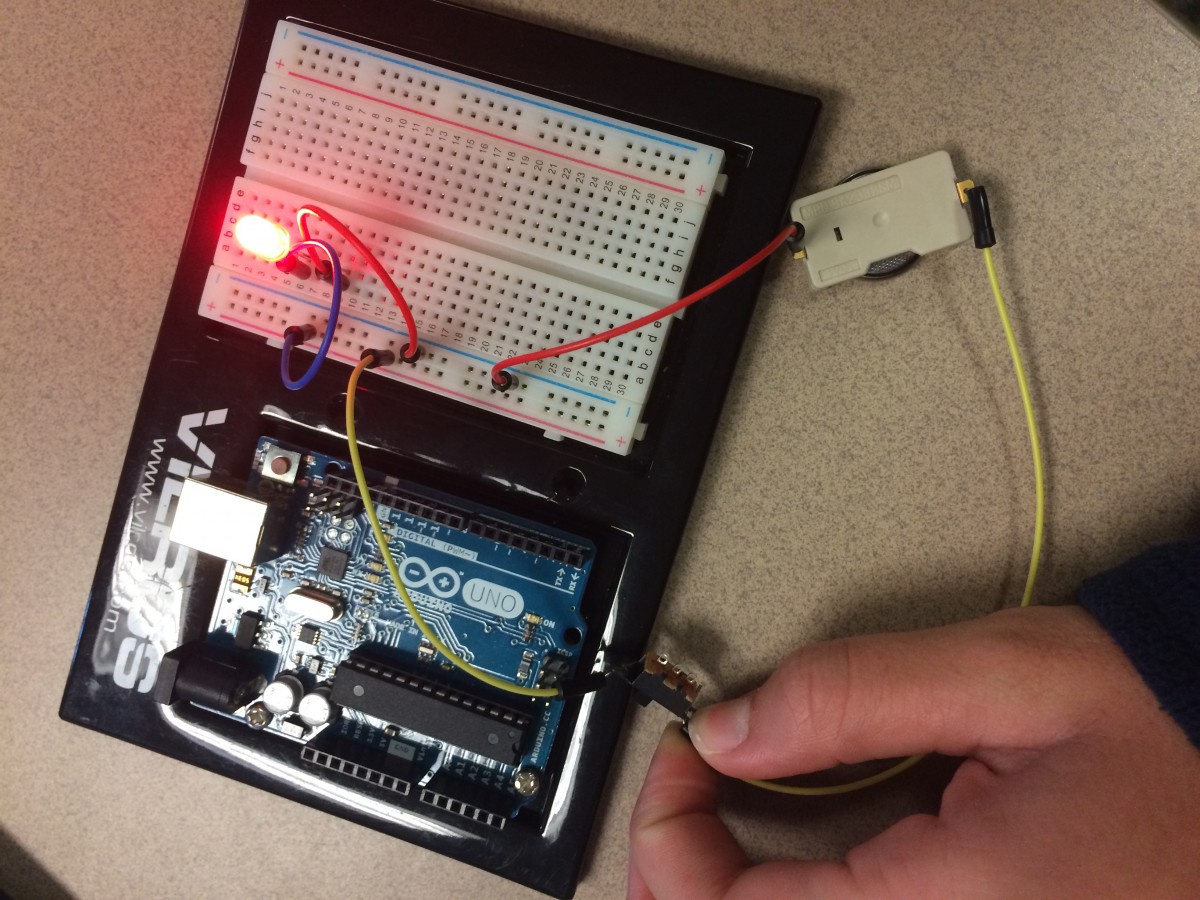
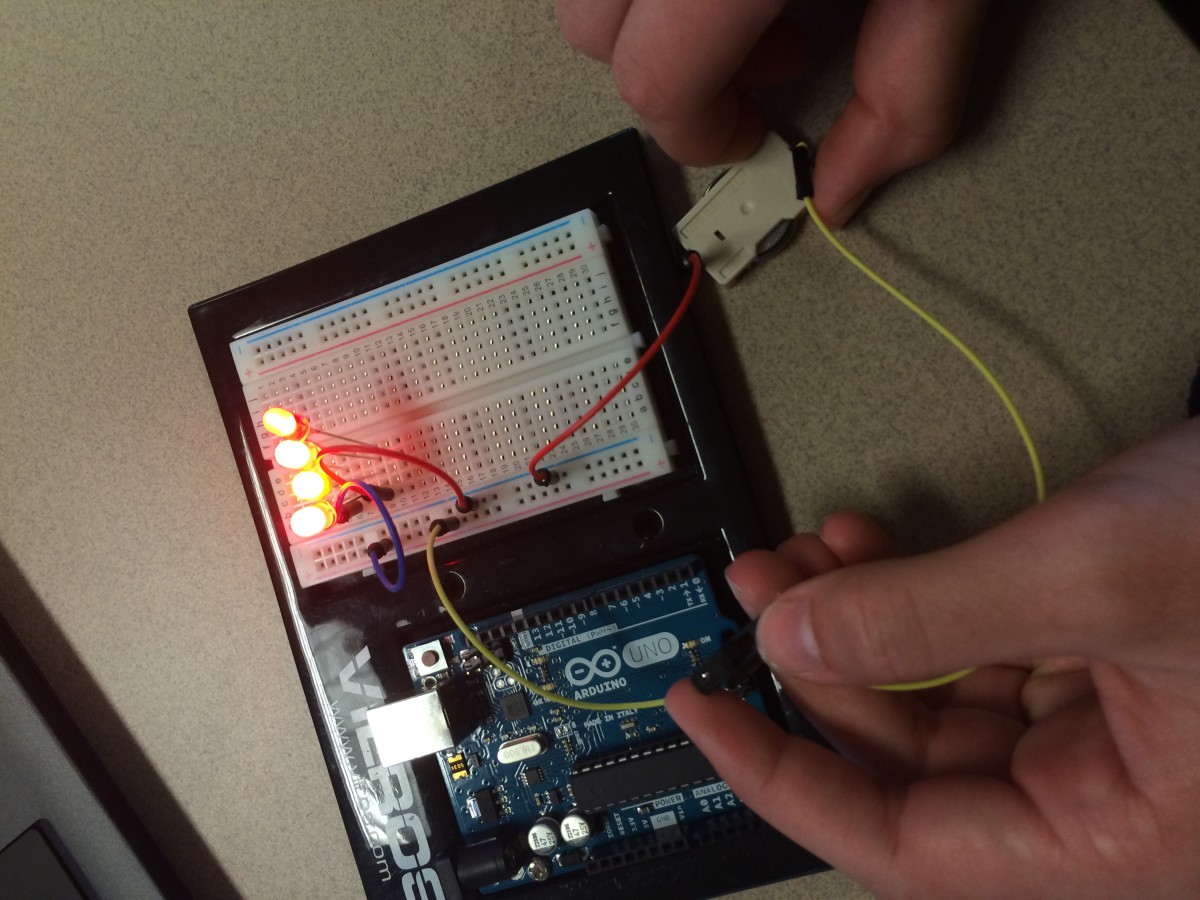
Through the videos, we learned a lot about LEDs and circuits. Some specific things that we learned was how to light up LEDs using a coin battery. To do this, you just had to connect the positive to the positive and the negative to the negative. Next, we played around with switches. We created a simple circuit using two jumper cables and connecting them to the coin battery. We then connected the two jumper cables to the ends of the switch. When we turned the switch on, the LED lit and a complete circuit was created. We then applied the same methods of making a simple/complete circuit to a breadboard. We first plugged in jumper cables to the different holes on the breadboard, making sure we connected the negatives and the positives. We then connected a switch and also a coin battery, once the switch was turned on, the LED lit up. Next, we started adding more LEDs to the breadboard and started adding them on the second part of the board. In order to create a complete circuit throughout the breadboard, you have to use jumper cables. As the picture shows, we had jumper cables that were located on both parts and therefore completed the circuit and caused the LED to light up.
These videos definitely helped me learn more about circuits and become confident in creating them. I also learned what a breadboard was and got to experiment with it!
Lighting up LEDs with a coin batteryLighting up an LED with a switch and a complete circuitSimple circuit with a breadboard and a switchLighting up LEDs on a breadboard on both parts using jumper cables
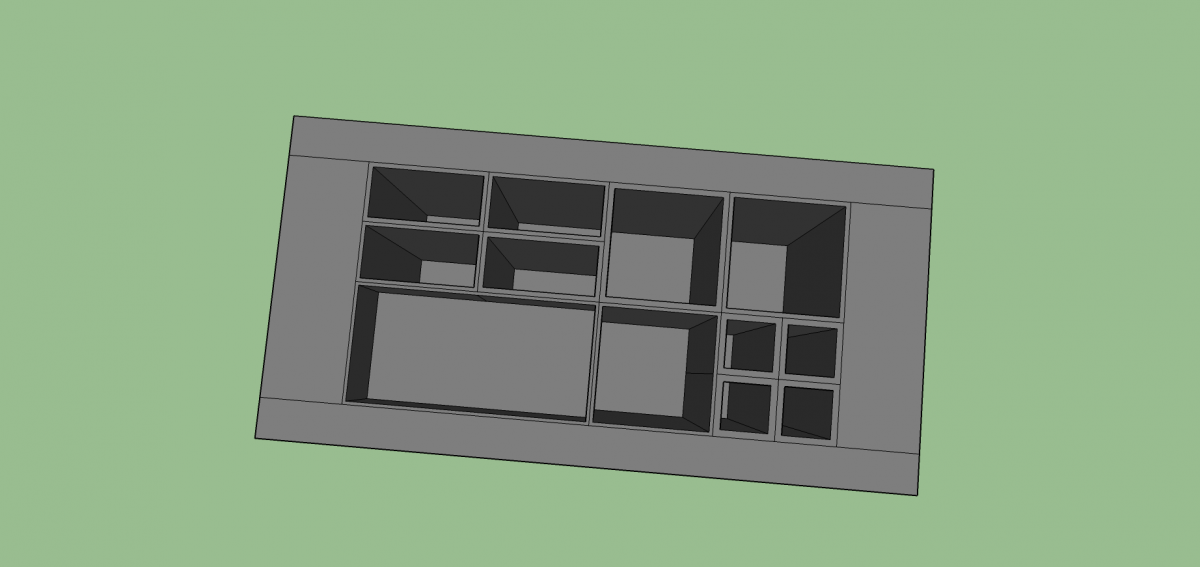
This pencil holder was designed to fit into the little hole in the top of most desks where the charger used to go. Now instead of just sticking your foot through the empty hole or passing notes to your other table mates, stick this handy and very dandy pencil holder in that empty, dark hole! A great place to store your pencils so you never to have worry about it rolling off a table or not having one because we all have been through that moment where you either don’t have a pencil or you lost it right before a test. Knowing that this problem is among us, my partner and I decided to design this remarkable device. We wanted to make this a versatile pencil holder and did so by creating many different compartments for any utensil even erasers. As easy as it may seem, it was very difficult to design. After making the measurements of the hole in the desk, my partner and I started to sketch the design with the measurement compartments in OneNote. As we all know the hole in the desk has rounded edges and SketchUp does not give us that option to make rounded edges. With that in mind, my partner and I decided while sketching make the pencil holder a rectangle and shorten the length so that it was able to fit in the hole while making the lips that hold it up longer. After that, designing went pretty smoothly. We were able to create the shapes and break them into smaller compartments which was very easy since we had already done the measurements. The measuring tool and line tool definitely came in handy during this step! However, once we made the design following our measurements we decided to decrease some measurements because they looked strangely long. The main thing that we changed was the depth of each of the pencil compartments from 7 inches to 4.5 inches in order to be able to see the tops of pencils, markers, or whatever else one desires to put in the holder. We then realized that we had to add thickness before pushing/pulling the compartments. This wasn’t that much of a set back stating that we were then able to press Ctrl Z multiple times (BEST KEYS ON THE KEYBOARD FOR SURE). After this we added color to the holder and then the master piece was created. After orbiting around the pencil holder and seeing that 3D object the we had created, we became very confident and excited as our hard work had payed off. We hope this pencil holder will deem worthy for everyday use as the amount of lost pencils and minutes of asking for one will decrease.
Before I started Art and Design, I knew absolutely nothing about SketchUp. In this class, I started learning more about how to use SketchUp starting with the basics of how to orbit and how to zoom in/out. I also learned how to draw simple 2D shapes like circles and rectangles. Along with learning how to draw simple shapes, I learned how to then make those shapes 3D by pulling them out and how to cut out shapes in a chair all by using the push/pull tool. I also learned how to make guides using the measuring tool and how to enter in dimensions, which is something I will need to know in the long run. The most important thing that I learned how to do was turning objects. I know I will be using this a lot and having to flip a chair upside down on top of the table helped me understand how each axis worked.
Below is a picture of my completed dining room set: