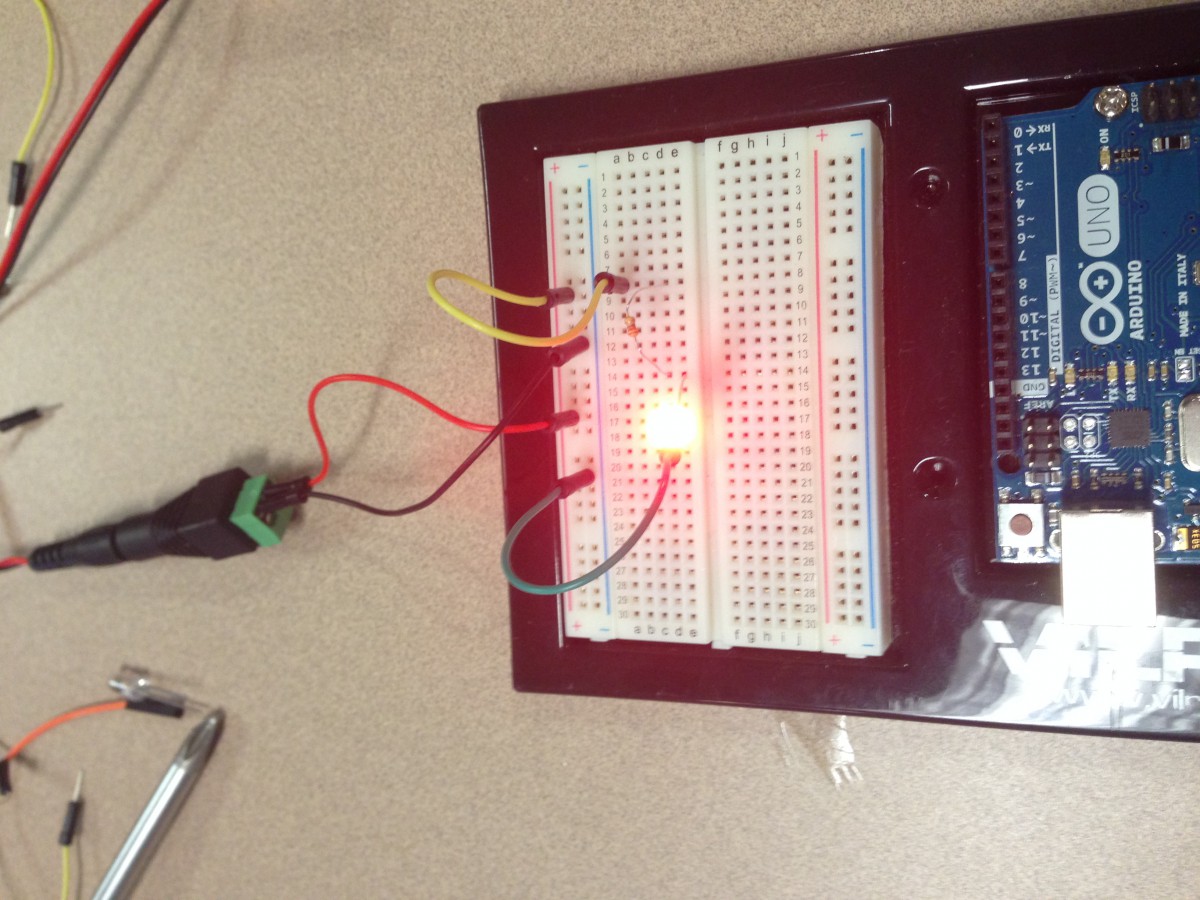
 In our class today, we started working with the breadboard and LED’s. In the first picture we used a circle shape battery and connect multiple wires on the breadboard. To get a full circuit you must start with a wire in the positive, connect it through multiple wires, to the LED, and then connect a wire to the negative. Then in the second picture, we added a resistor to the circuit. The set up is the same basic idea, but we used a 9 volt battery and added a resistor before the LED so the strength of the battery wouldn’t blow out the light. I also learned that the positive sides of the LED have to connect with the positive wires.