
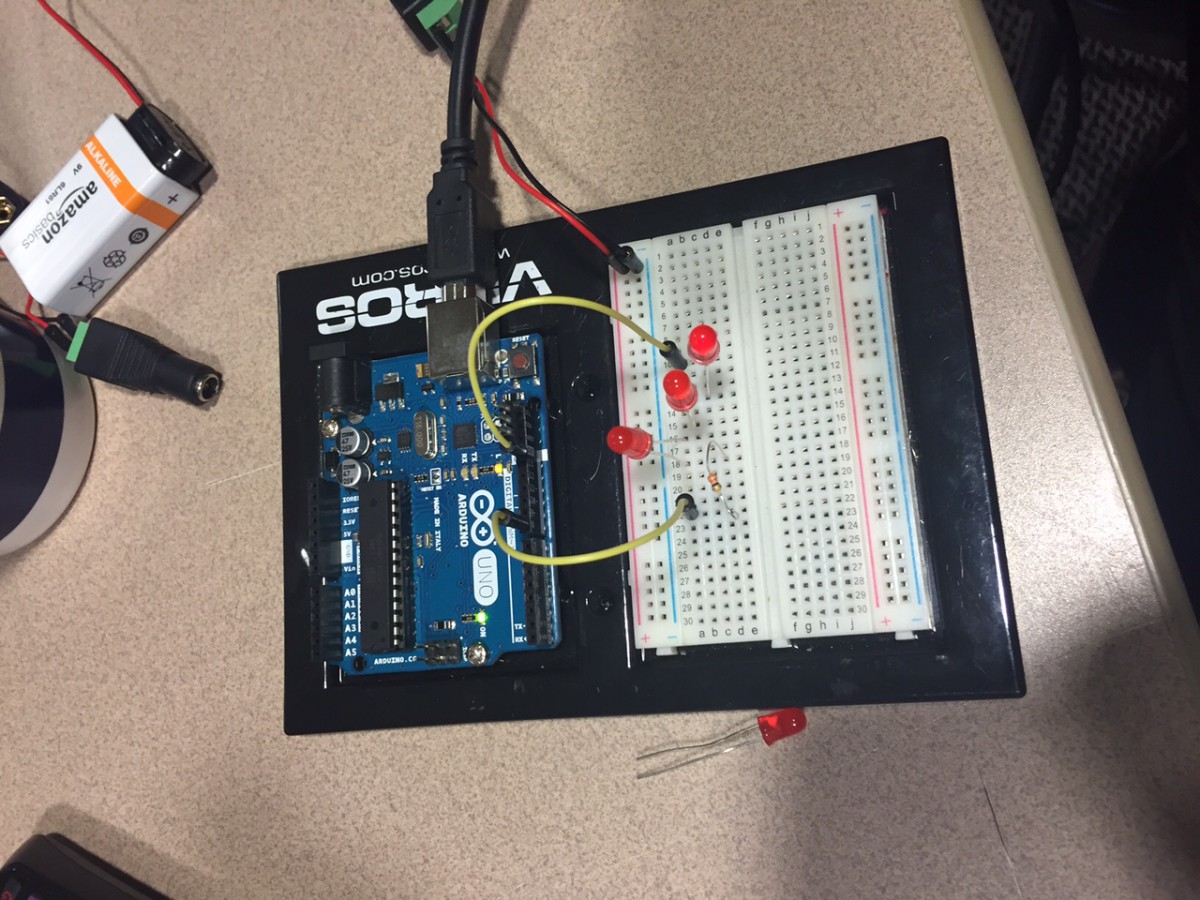
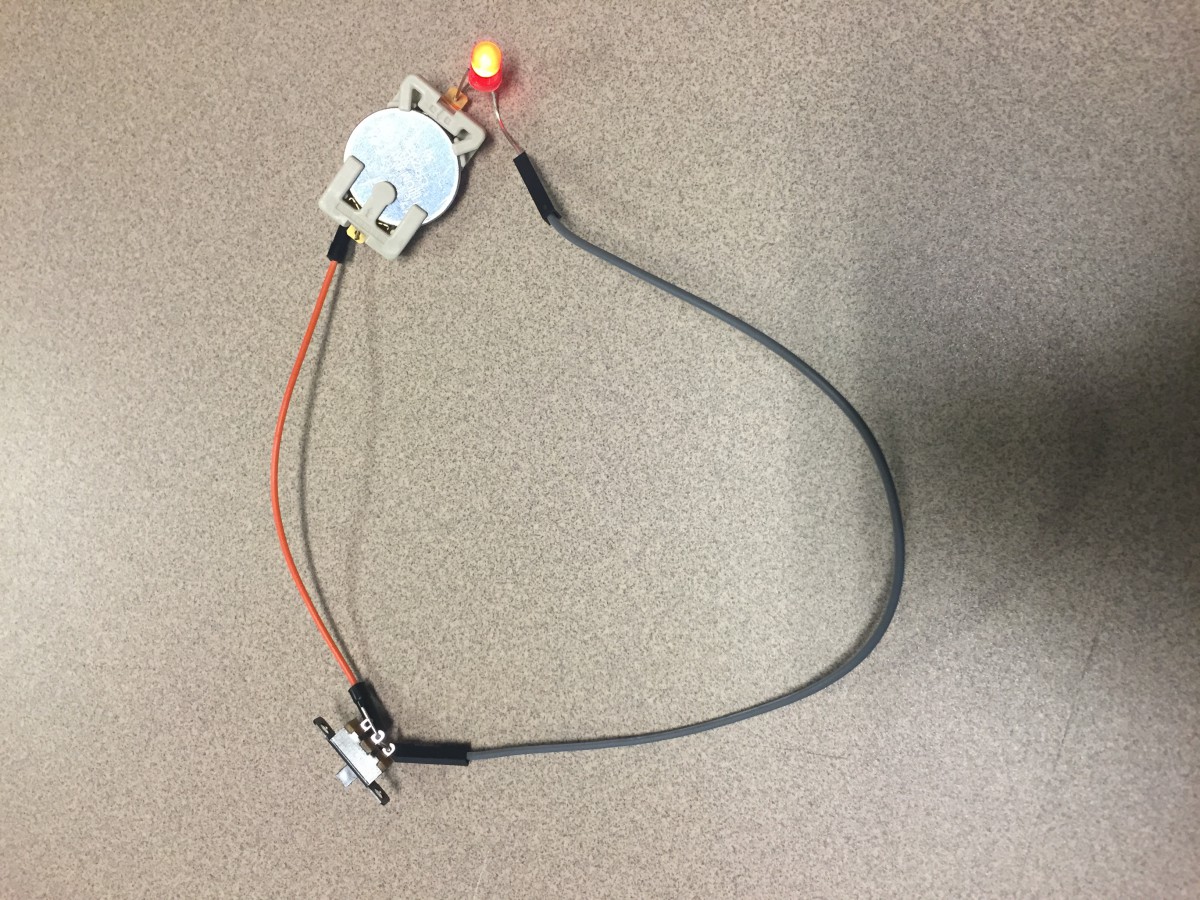
In class we started with basics and moved into the more complicated aspects of lighting LEDs. We first determined the positive from the negative ends of lights and batteries so that we could successfully make a circuit with a 3 volt battery. Next we moved into doing that will a switch so that you can control when the light is on and off. I then proceeded to using a breadboard where you used the cables to connect to a 9 volt battery. To make it a little more complicated you added a switch to the breadboard circuit you already made. Next I made it where the light could blink using code on half a second intervals. Lastly I created it where three lights could be connected and light using programming with the Arduino.