All posts by rjj597

Project Ideas with LEDs and 3D Printer

My partner(s) and I have brainstormed these ideas:

  • Jack o Lantern
  • Charger Horse
  • Timer
  • Operation Style Game
  • Christmas Themed Light Up Sweater
  • Bracelet
  • High Five/Five Bump Wrist Bracelet
  • Magic Storage Box with Lights Inside
  • Dragon Nutcracker With Light Up Function

Top Four Table Ideas:

  • Light Up Trash Basketball Hoop
  • Jack O Lantern
  • Magical Box
  • Open/Exit Sign


Top Four Table Ideas:

  • 3D Printed Jack O Lantern
  • T Rex With Lighted Eye
  • Table Catapult with Lights
  • Christmas Tree that lights up
  • Light up etch a sketch by touch
  • Twister squares that light up
  • light sabers
  • Impossible Box

Circuitry or Sorcery

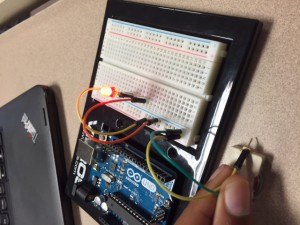
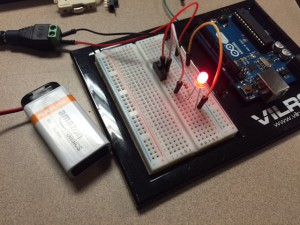
This week in Art and Design, we learned how to set up simple circuits. First we learned the most basic principle of how electricity flows through a circuit, so that we could design closed circuits that worked. Otherwise we’d end up with circuits that didn’t have a closed path for electrons to flow through. Then we learned how to set up our circuits on a breadboard and how electricity flows on a breadboard. At first it was a little complicated, but then the pieces started to fall in place with practice. While dealing with breadboards we learned the difference between series circuits and parallel circuits, and how to incorporate resistors, and switches into our breadboards. Lastly, we also learned how to read and draw basic circuits on paper so that we could give and receive instructions, as to how to set up a circuit.

First LED Circuit            More complicated LED Circuit

Grabber Grabber

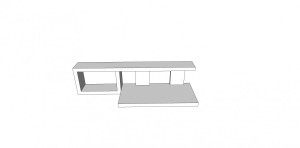
board holder 2d pic


While ironic, the art and design room needs a grabber for their grabber. This handy tool allows us to reach up and bring extension cords down so we can charge tablets. Unfortunately there isn’t really a spot for this tool to go. So where does it end up? Just lying around on tables. I know! Ridiculous! Well our problems are solved with the grabber grabber, by RR Industries (Rohit and Raiden). This small yet convenient tool allows for easy storage. It’s dimensions allow for it to fit snugly to the white board and after that all you have to do is grab your grabber, activate the grab mode and put it into the holder. The tool takes advantage of the fact that the grabber expands when you release and compresses when you grab so after expanding it can’t fall through and just hangs from the tool. Then to get your grabber, simply pull the trigger to grab, and the grabber will easily slide out. The process of coming up with the grabber grabber was really good for the overall project. At first we found the concept we wanted to do and didn’t want to come up with others so much but in the process of coming up with others, we came up with ideas to add. Then we used the techniques we learned in SketchUp to get a real visual of what the grabber looked like and were able to modify and tweak the design as we saw fit.

Learning SketchUp

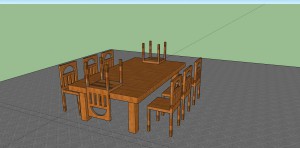
Dining


In SketchUp we learned first the basics like the viewing tools. Next we used those tools to move around and create different parts of our chairs using guides and the pencil tool. Now we were left with a couple of chairs and a table scattered about. This led to using tools like Push/Pull and Rotate so that we could play around with our creations and position them the way we wanted.