All posts by krishang356

Project Ideas for LEDs and 3D Prints

My partner and I are ideating about something we could make with a 3D printer design that uses LEDs:

  • Light-Up Bracelet
  • Light-Up Sign (Such as an Open Sign)
  • A Flashlight with a Switch
  • Transparent Lego Light
  • A Signal Light (Lights up on Some Kind of Command)
  • LED Jack’O’Lantern
  • Nightlight
  • Light-Up Phone Case
  • Desk Lamp
  • Light-Up Ball
  • Light-Up Paperweight

Table Top 4:

  1. Light-Up Tissue Box (Lights Up when a Tissue is Pulled Out)
  2. Flashlight with Switch
  3. Nightlight with Dark/Light Sensor
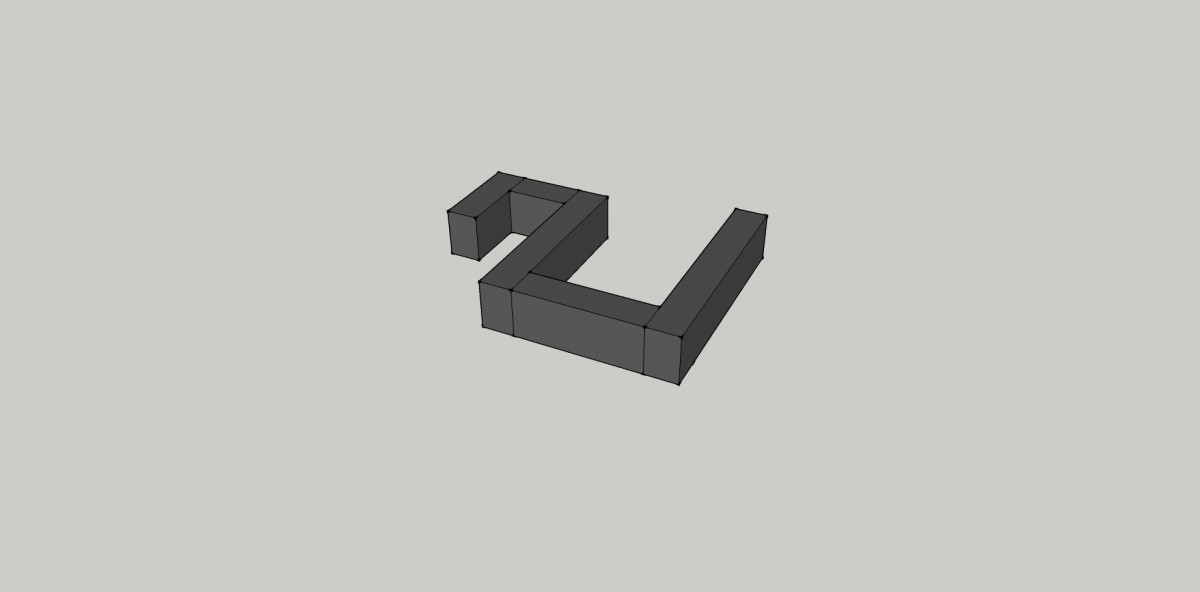
  4. Light-Up Geometric Paperweight
  5. Belt-Buckle

Table Top 4 (2):

  1. Lit-Up Halloween Jack’O’Lantern Basket
  2. Lit-Up Coffee Cup with Temperature Sensor
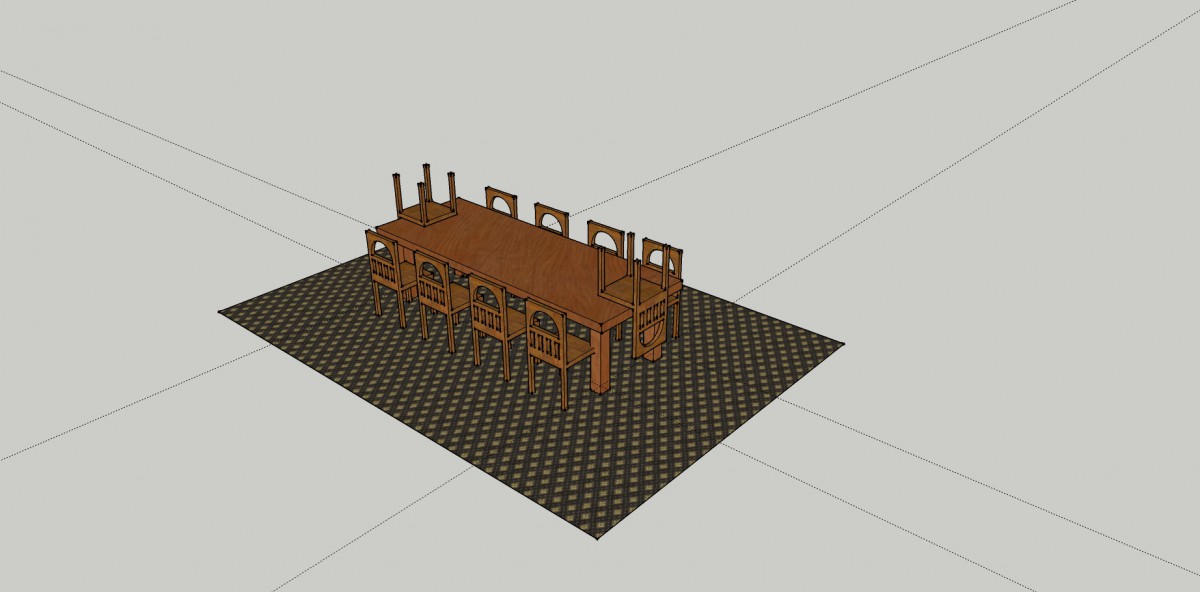
  3. Table Cloth with Lights on the Edges
  4. Light-Up Glasses

LED It Up!

This week in Art & Design we worked on various ways to power LED lights. We used switches, 3V batteries, bread boards, 9V batteries, many wires, and LED bulbs.

The first thing I learned was what was what.  I now know which wires to use where when creating a circuit. I also learned how to connect various pieces, such as a battery or LED light, to the wires. For my first project, I used a switch to turn on and off a circuit. I learned where to put the specific positive and negative inputs and outputs and how to connect the wiring. Here is what this circuit looked like (1st switch off 2nd image switch on).

photo 1

photo 2

I also learned how to use a bread board, which is a piece of equipment where you can connect multiple things with each other. I connected as many LED’s as I could fit, and this was also connected to a switch. Hphoto
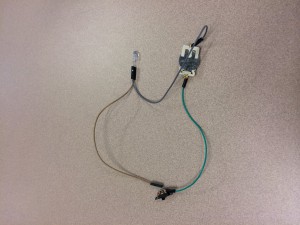
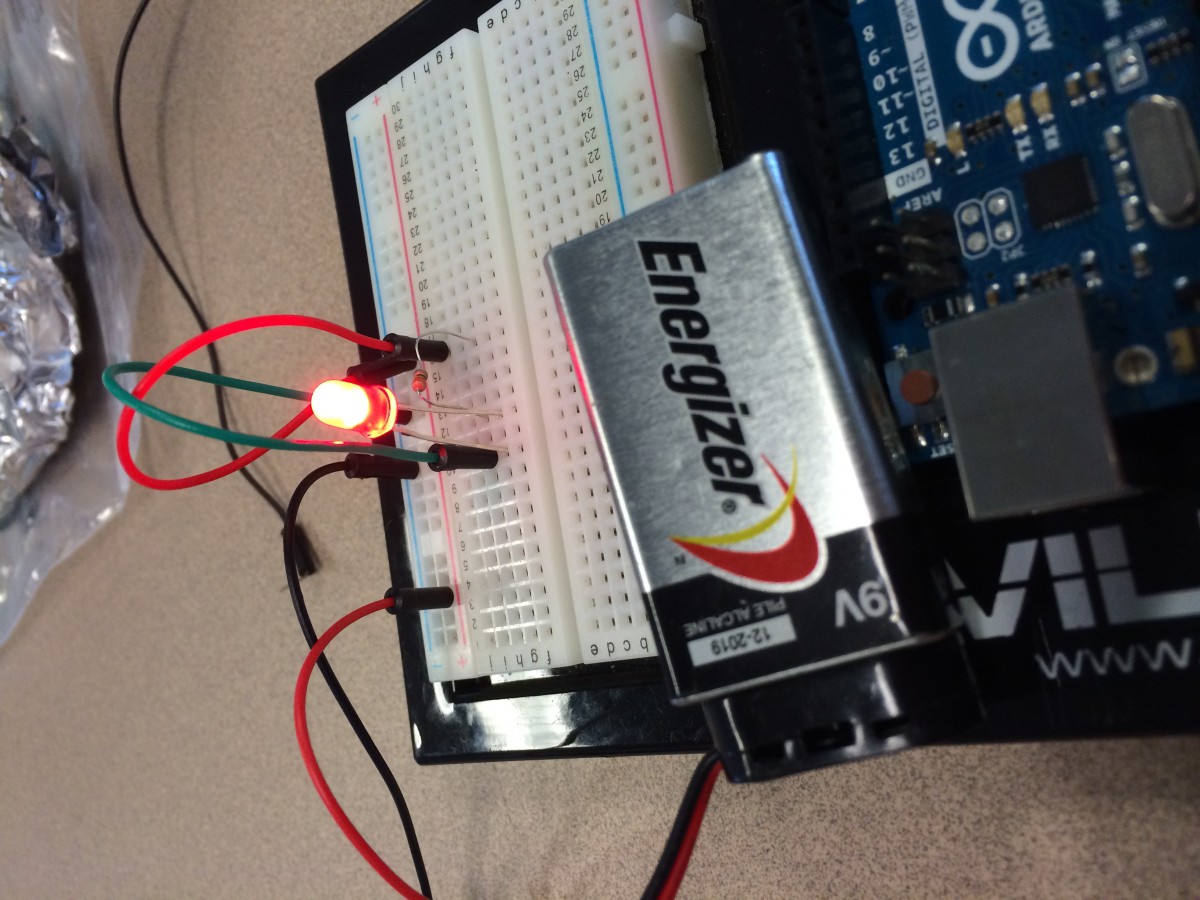
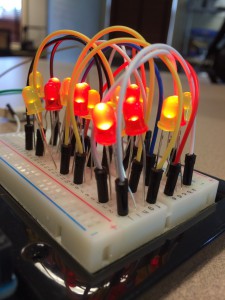
ow many LED’s can one 3V battery power?! Apparently, at least 15! (3rd image).  Lastly, I learned how to use a resistor. A resistor is needed to convert the voltage from the 9V battery to a lower voltage so it won’t overpower the LED bulb, which only needs about 2-3V of power (4th image). Overall, I learned a lot about LED lights throughout this unit, and I can’t wait to do more with them!

photo 4

The Grabber’s Residence

Our goal was to create a piece that would allow the grabber to rest somewhere on the white board. We decided to make a hook, of which we would make two of. The hook would sit on top and over the back of the white board. On the back, the hook would extend 7 centimeters down to ensure that it does not come off. On the front of the board, the hook would extend 6 centimeters down and would have a 2 x 2 centimeter hook for the body of the grabber to rest. There would be two hooks, one hooked on the top of the white board and the other hooked about a foot and a half away. These would allow for the grabber to rest horizontally on the two hooks. We decided to choose this design so that the grabber could be placed on the hooks with ease and it would also not be a challenge to remove the grabber from the hooks. Also with this design, the grabber is not blocking or interfering with the white board in any way, as it mainly covers only the rim of the board. Here is an example of the hook that will be used in creating the grabber’s residence:

Board Piece

Learning SketchUp

In Art & Design class, we used a computer program called Sketchup order to build a dining set. Through the process of building this dining set, I learned many things about Sketchup. I am now able to successfully navigate the program, and perform functions such as draw, erase, create guides, and push or pull. I also now know how to move and rotate objects in order to create a scene. Here is the dining set that I made:

Sketchup Dining Set Side View