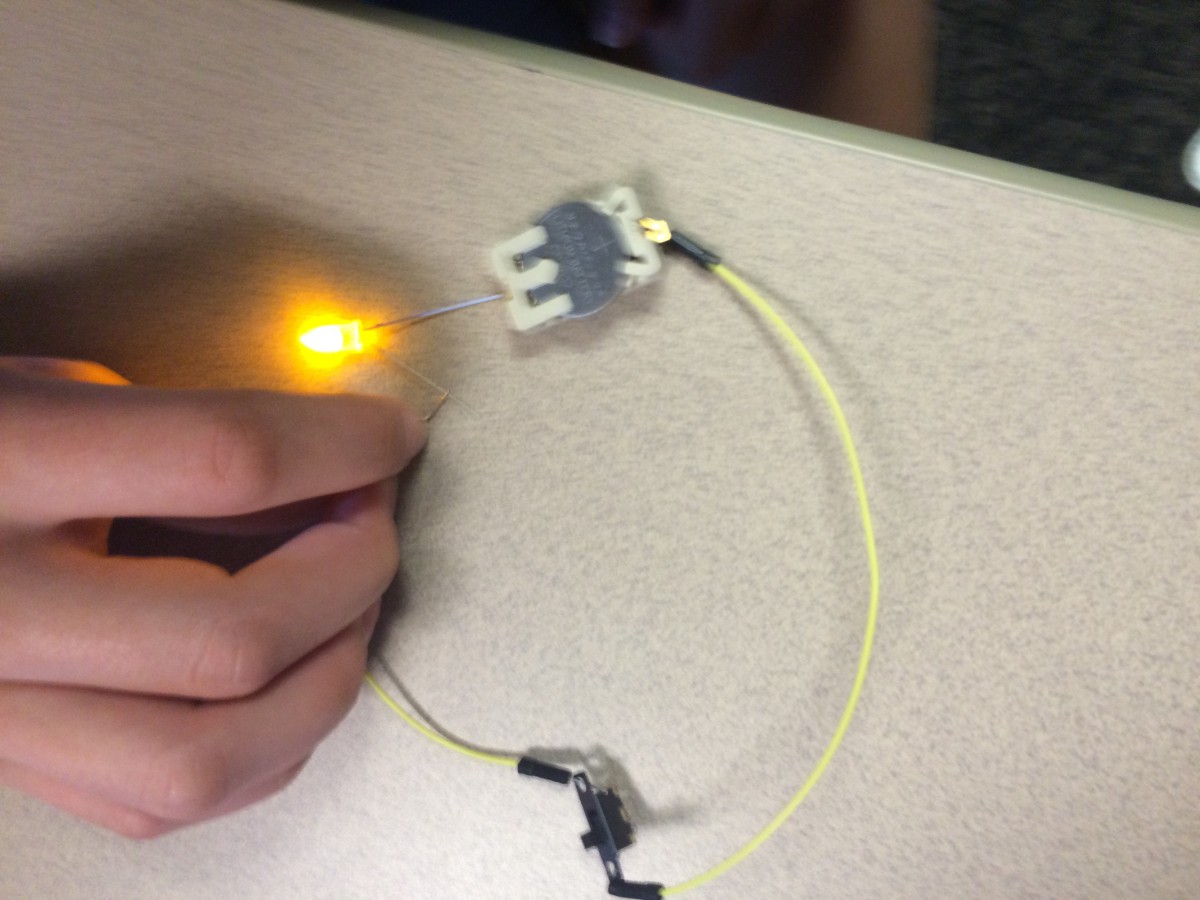
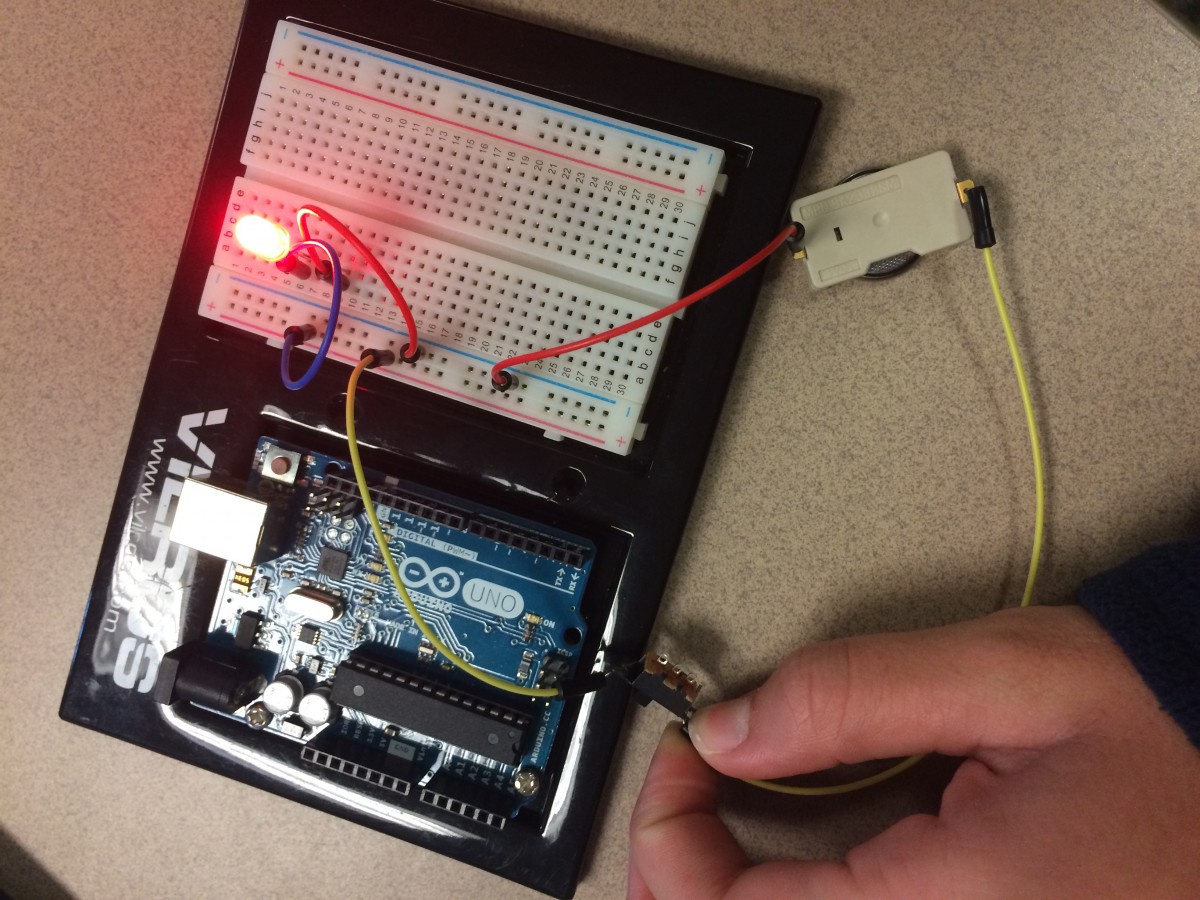
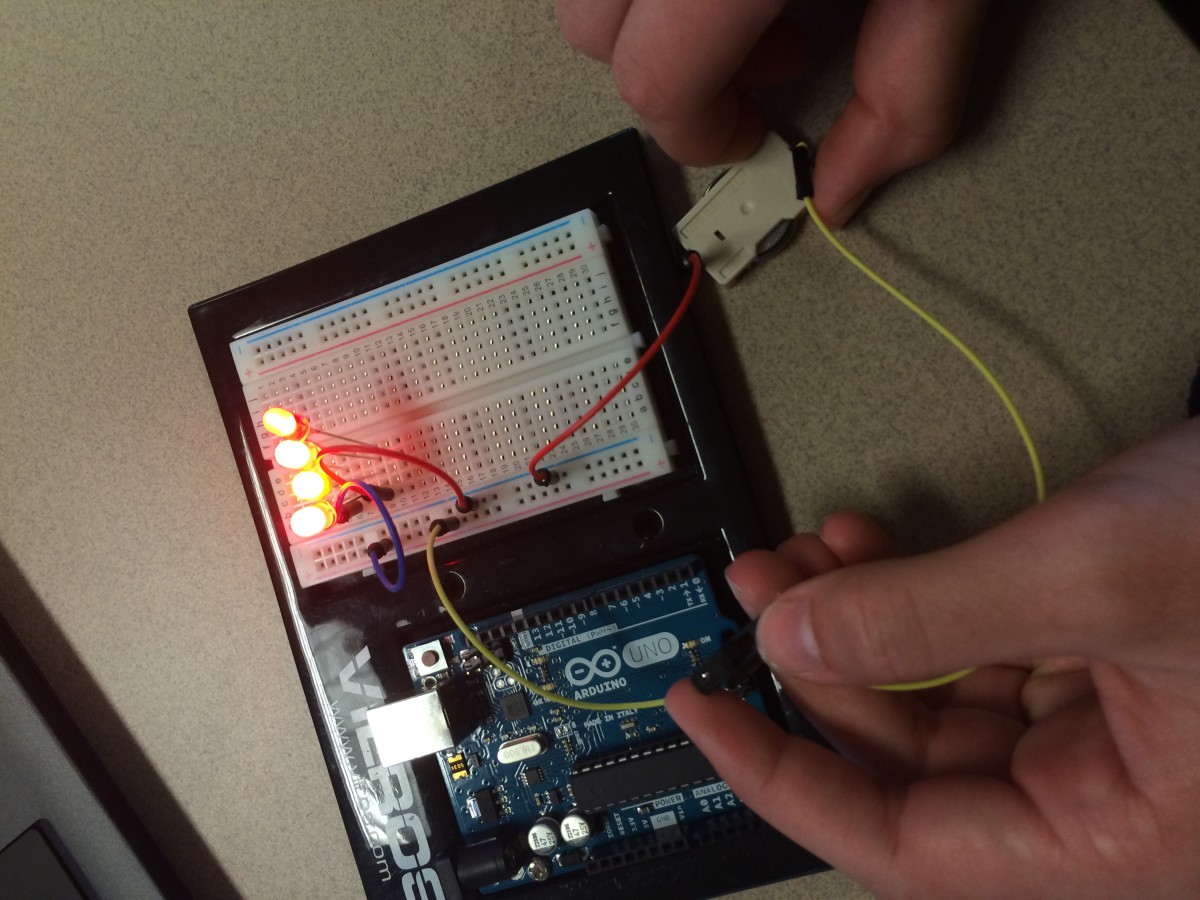
Through the videos, we learned a lot about LEDs and circuits. Some specific things that we learned was how to light up LEDs using a coin battery. To do this, you just had to connect the positive to the positive and the negative to the negative. Next, we played around with switches. We created a simple circuit using two jumper cables and connecting them to the coin battery. We then connected the two jumper cables to the ends of the switch. When we turned the switch on, the LED lit and a complete circuit was created. We then applied the same methods of making a simple/complete circuit to a breadboard. We first plugged in jumper cables to the different holes on the breadboard, making sure we connected the negatives and the positives. We then connected a switch and also a coin battery, once the switch was turned on, the LED lit up. Next, we started adding more LEDs to the breadboard and started adding them on the second part of the board. In order to create a complete circuit throughout the breadboard, you have to use jumper cables. As the picture shows, we had jumper cables that were located on both parts and therefore completed the circuit and caused the LED to light up.
These videos definitely helped me learn more about circuits and become confident in creating them. I also learned what a breadboard was and got to experiment with it!