All posts by jessicaj577

Project Ideas for LEDS and 3D Prints

My partner and I are brainstorming about projects we could make with a 3D printed design that uses LEDs:

1. Clock where the number of the hour lights up
2. Bathroom stall door lock that lights up when the door is locked
3. A timer that lights up when it’s done
4. A charger that lights up when its plugged in (color would change depending on the battery life)
5. Pen that lights up when clicked
6. Light up bookmarks for reading in the dark
7. Light up cup that changes color based on temperature

We then collaborated with others at our table to choose the four best ideas out of everyone’s. The top four ideas we are:

1. Light up charger
2. Light up phone case
3. Light up translucent ball
4. Light up clock

Then, as a class we communicated each table’s ideas to create one big idea list. The top ten ideas are:

1. Led lamp
2. Light up jewelry box
3. Sunglasses that light up when you blink
4. Light up ball
5. Light up clock
6. Light up charger
7. Light up phone case
8. Computer case that lights up
9. Light up watch
10. Toy car with lights

LED It Up

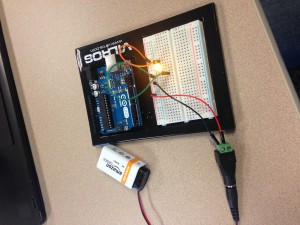
The first activity that I completed was lighting up an LED light using a coin battery. This was done by placing the positive and negative wires – one on each side – on the coin battery. As a result, the LED lit up. The next activity was wiring up a battery to a switch and an LED light. Using wires, the three pieces were connected, and when you turned on the switch, the LED light lit up. The next activity was using a breadboard, a battery, connecting wires, and a resistor to light up the LED. With wires, the battery was connected to the breadboard. Wires were used as a flow path to the LED, and a resistor was placed either before or after (either works) the LED so that the intensity of the battery would not blow out the light. The final activity I did was using Arduino. After typing into the program on my computer, and connected it to the breadboard, the light on the breadboard flickered – with delays corresponding to what I typed into the program.

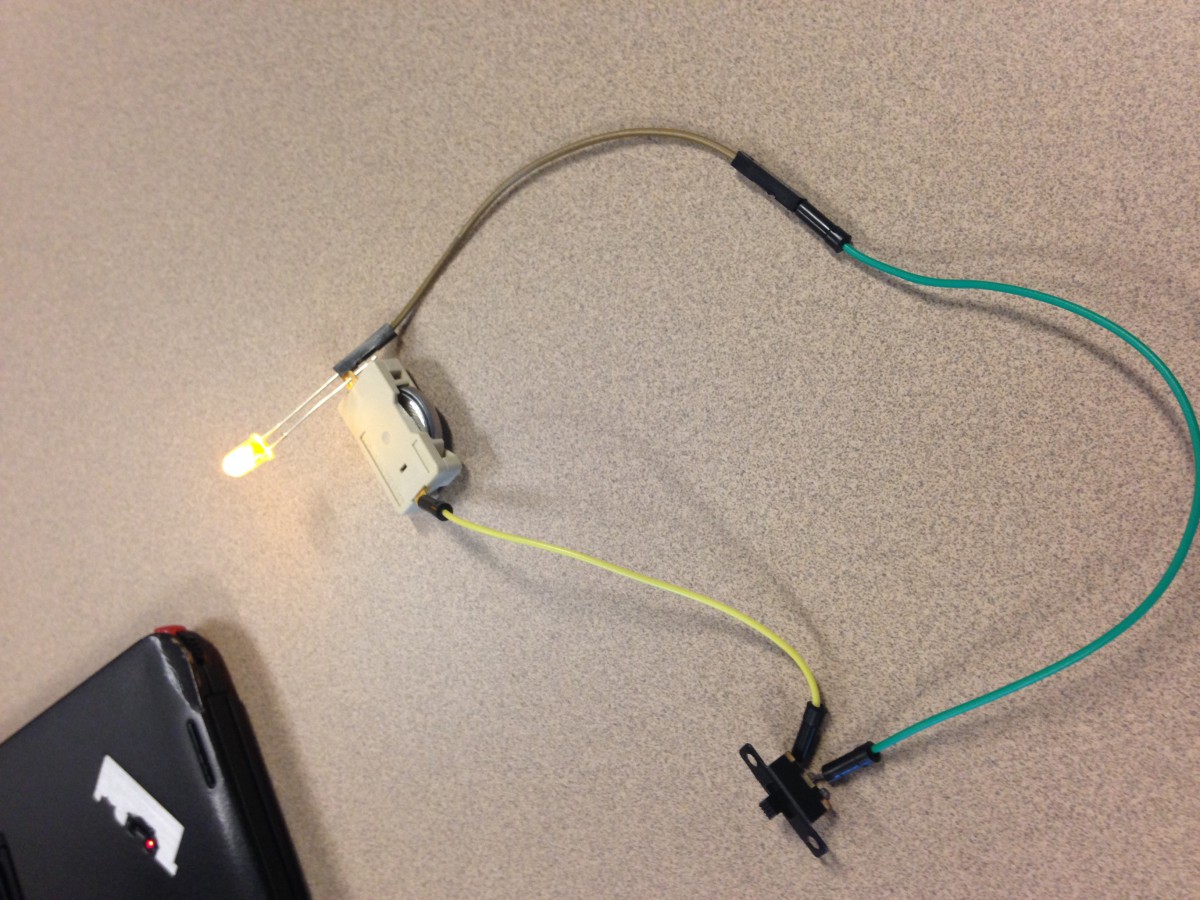
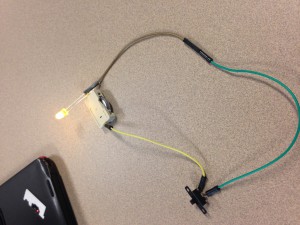
One element that I learned was how to utilize all of our tools. Unlike the first activity, I was able to use many of the different wires. I learned that in order to make an effective circuit you may need to use more wires than you need. I learned that specifically in the battery/switch/LED activity (picture below), because originally in the video only two wires were used, but in the end three were used to make a more effective circuit. I also learned the difference between the different types of wires wires and how to use them depending on the situation.

art design2

Another element I learned was how to create a circuit on a breadboard. I learned that in order for the battery’s power to travel to the LED, the connecting wires must be placed in the same column or row as the next, to create a smooth path. This is shown in the picture below.

art design

Another element that I learned was how to use Arduino. At first it seemed pretty complex, with all the typing of terms I didn’t know, but when I followed along with the video I got the hang of it. Specifically, I learned how to change the delay times so that the LED would flicker either faster or slower.

Overall, I think that this is activity was a very good overview of use of LEDS, breadboards, Arduino, and just creating and understanding a circuit.

Designing a Pencil Case

My group designed a pencil case that will fit in the rectangular opening of the desks, to usefully store pens, pencils and such paraphernalia. In order for the case to be suspended from the table, a one inch lip was created to hang over the edges of the table’s opening. After creating a simple sketch of our design, we made a to scale design in Sketch Up, that we will soon print three dimensionally. Our result (our Sketch Up design) is shown below.

Pencil Case

Learning SketchUp

In SketchUp, I learned how to create my own chairs, tables, and rugs. To do this, I had to learn many skills and had to learn how to use the tools of SketchUp. I learned how to use the orbit tool, the guidelines tool, the protractor tool, the line tool, and more. I also learned how to import a rug onto my SketchUp page (even though I didn’t end up using this rug, I still acquired the skill.) Another thing I learned in SketchUp was how to put holes through something, and how to push and pull. At first I was uncomfortable with the SketchUp program, and really did not know how to do anything, but now I think that I could design a dining room easily with the skills that I’ve acquired.

DINING ROOM1234567890