All posts by claudiaz731

Next Steps

We have successfully connected the motor to the Arduino and Breadboard.  We have connected another motor to an Ardunio and Breadboard.  We have also begun the first step of using Bluetooth to drive our car.  Our next step in building our car would be to finish connecting Bluetooth.  After that we will begin to build the frame that way we can connect all of the parts.  Here are some pictures of our progress:


bluetooth pic


This is our first attempt at connecting Bluetooth.  We need to finish connecting this to our computer and phone.


motor


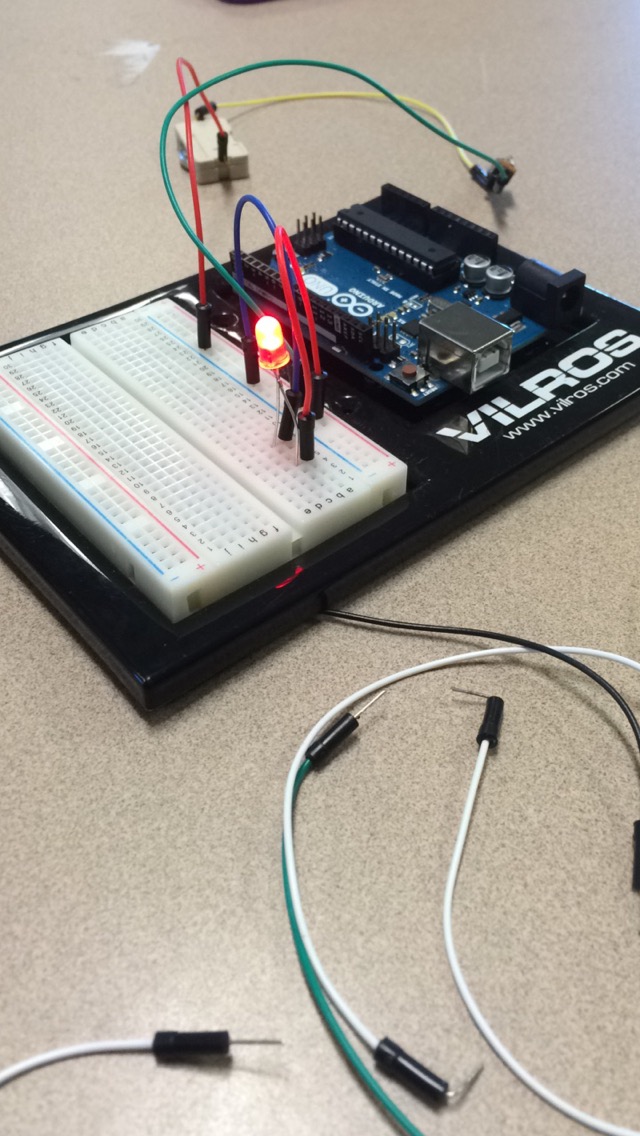
This is our motor successfully connected to the Ardunio, Breadboard, and synced with the computer program.  We are now able to get it running on the first time.

We will also need to make a chassis as part of our new few steps.


Circuits and Switches

Today we worked with LED lights, circuits, breadboards, and switches.

The most basic thing that I learned was how to light up an LED with a 3V battery.  You have to match the correct side together in order to get it to light up.  The positive has to be connected to the negative and reverse for the other side.  By simply touching the prongs to the battery it immediately lights up. Without wires or switched the light bulb lit up! See picture below

Battery and light


I learned how to use a switch in a circuit.  We connected two wires on each end of the battery pack.  We then put the battery in the holder.  We connected one wire to the bottom of the switch.  Then take one of the prongs and connect it in another hole.  We then connected the other wire to the other prong of the LED.  The switch allowed us to control the flow of electricity from the battery,

basic circuit with switch


I learned how to look up multiple LED’s on to the breadboard.  I learned how to connect circuits on different parts on the breadboard.  We connected the battery to a switch that was connected to the breadboard.  We then connected the wires to another part of the breadboard.  This connect the circuit so that the lights could light up.  After doing this we could put in more lights as long as they were in the same rows.  See picture below

breadbord with light

USB Port Organizer

We made an organizer for the USB ports with the 3D printed objects on the end.  In attempt to make the room more organized we based our idea off of a garden rake.  We have three hooks coming off of a circle that can be drilled into the wall.  Each hook is a place for one of the USB drives, but more can be stored on each hook.  We used the follow me tool as well as the push pull tool to get the shape of the hooks.  We had to rotate the hooks to create the rake look.  This was difficult for my partner and I because the rotate tool was very hard to use.  Eventually we finished and our new system of organization was finishedUSB drive hooks

Parts needed

Our first project will be a simple RC car.  The car will be controlled with an Android device that also has a built in accelerator.  This accelerator will also have Bluetooth.  The device will be connected to via USB Host.  We then need a motor driver.  We also need a Bluetooth Modules.  The hardest part would be the chassis.

Learning Sketch UP

For the past week we have been working with sketch up.  We have made a dinning room set.  This set had three chairs and a table.  The class learned how to rotate, measure, and move objects along the three axis.  We created oLearning sketch upbjects with tools such as the push/pull.  Here is my dinning room set.