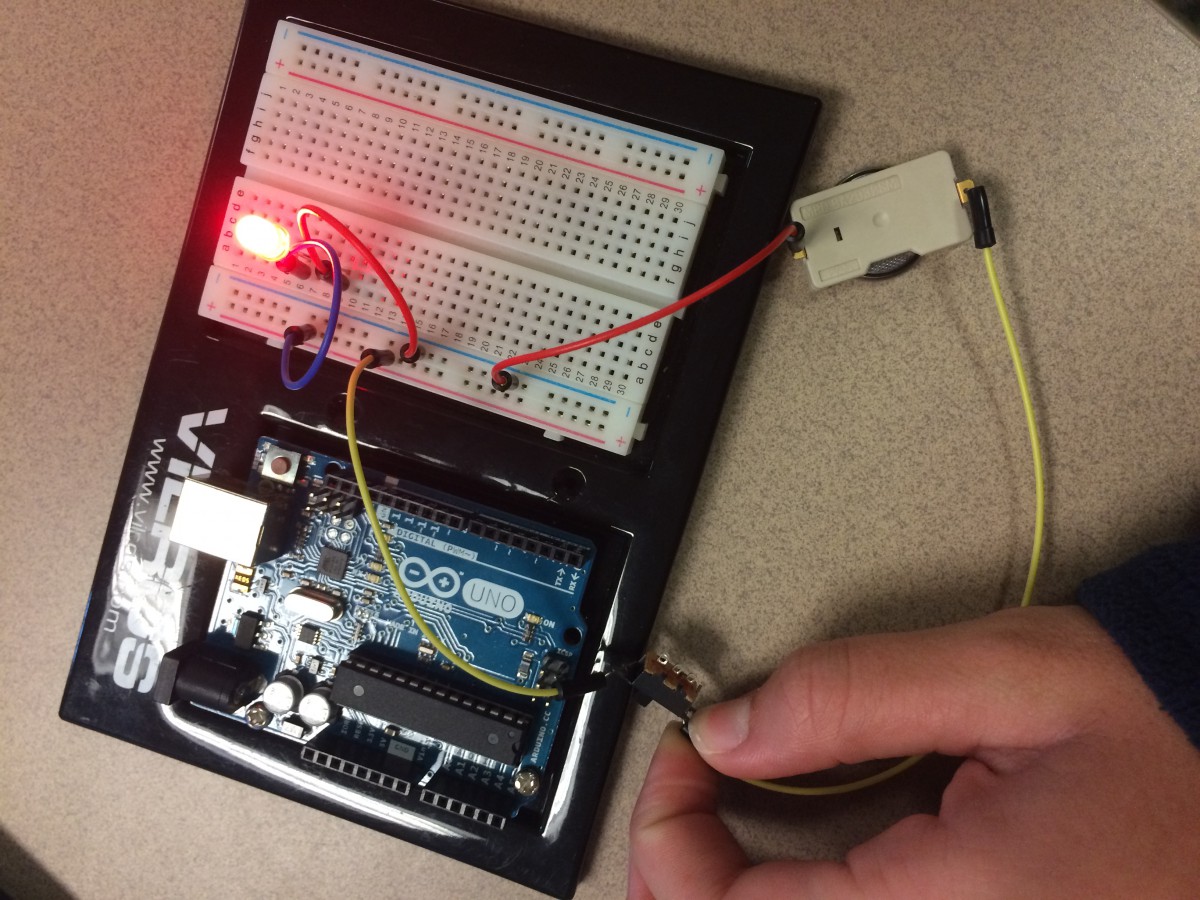
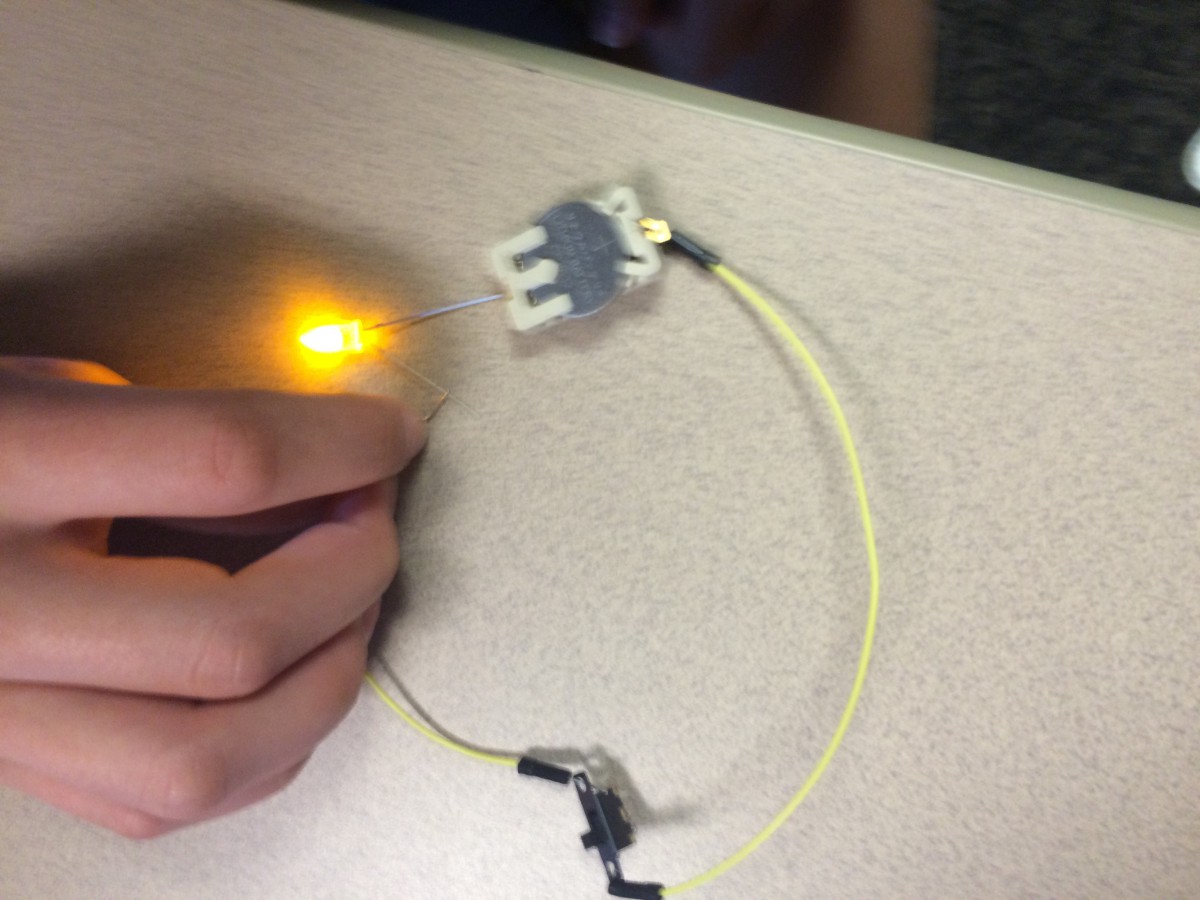
While learning about circuits the first thing that we did was learn about how to light up LEDs using a coin battery. To light up the LED we plugged in the positive wire to the positive side, then we did the same with the negative. We connected the jumper cables to the LED and made them light up. After this, we watched a video explaining how to create a simple circuit. We used this diagram to create a simple circuit with a switch and came out successful. Next, we connected the positives and negatives on the breadboard and made the LEDs light up. We used jumper cables and male and female connectors. We learned that the two parts of the breadboard that were split up are not connected, but we can connect them by using jumper cables, in case we needed to add more lights to the breadboard. Lastly, we learned how to make a diagram for a circuit with a resistor. It is like the normal simple circuit diagram but, a little bit more complicated.
Overall, I think that we learned a lot about how to create circuits using coin batteries, jumper cables, male to female cables, a breadboard, and a switch. I think that in the future I would be able to successfully light up LED lights on my own.