
This was a good refresher on using LEDs in a breadboard, and also using resistors, switches and Arduinos. Continue reading LED it up!
This was a good refresher on using LEDs in a breadboard, and also using resistors, switches and Arduinos. Continue reading LED it up!
Today in class we worked with LED lights and some other stuff to light up the lights!
Here some super cool pictures showing what we created (Photo creds to Oonagh):


Doing these activities, I learned how to connect a battery and a switch to circuit board. I also learned how the placements of the wires effect the resister and the LED. They need to be lined. I also learned how to use a coin batter to light up an LED. The coin batter is a small circular object shaped like a coin, hence the name Coin batter. It fits int a small slot with then has 2 places to connect wires which you can attach to a circuit.
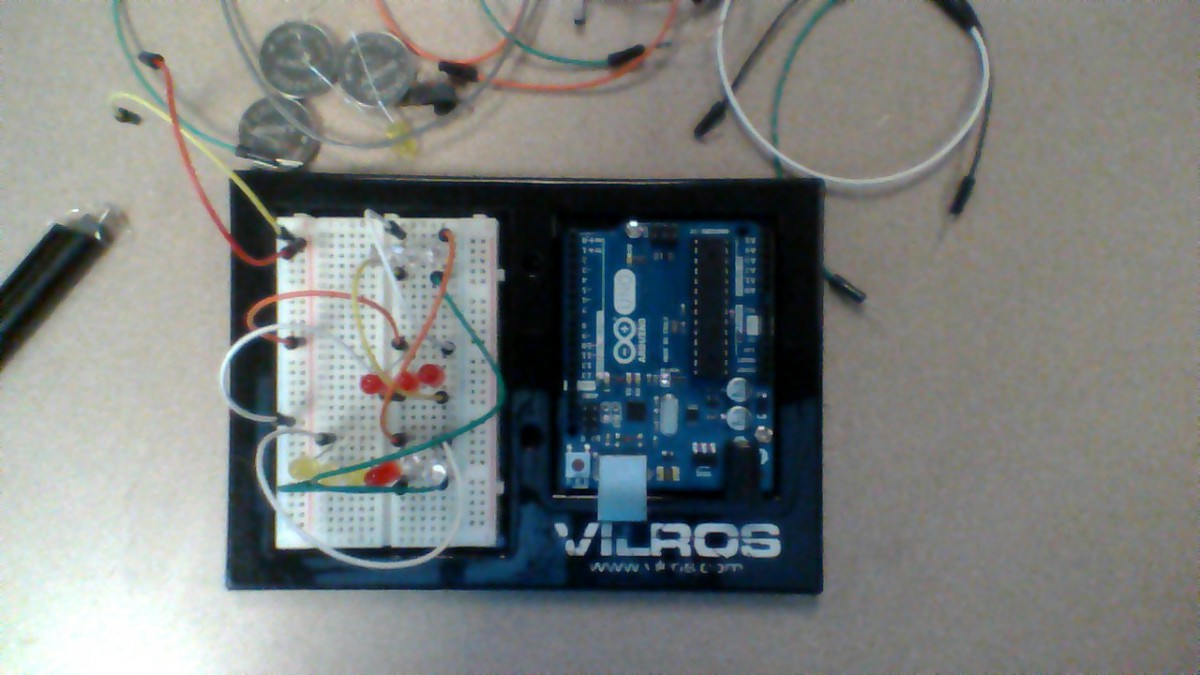
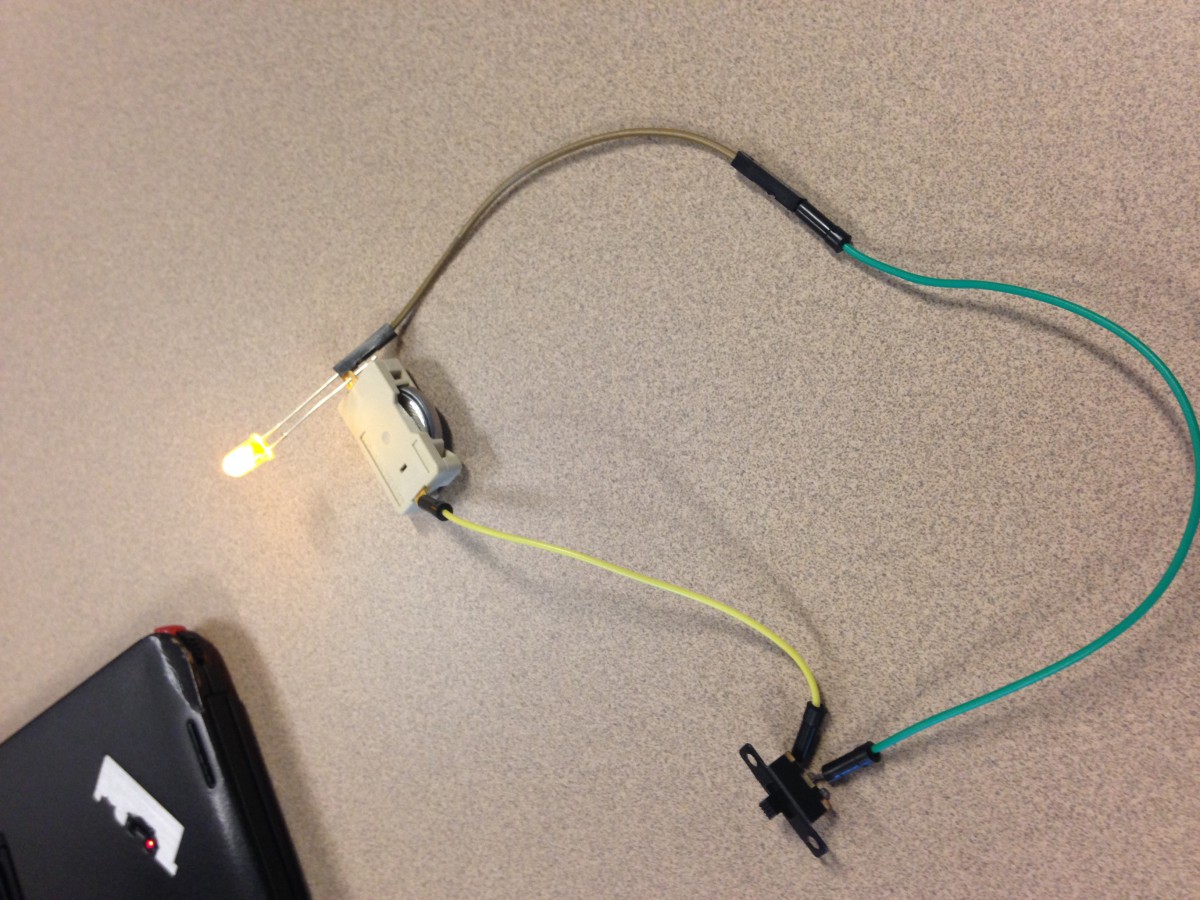
The first activity that I completed was lighting up an LED light using a coin battery. This was done by placing the positive and negative wires – one on each side – on the coin battery. As a result, the LED lit up. The next activity was wiring up a battery to a switch and an LED light. Using wires, the three pieces were connected, and when you turned on the switch, the LED light lit up. The next activity was using a breadboard, a battery, connecting wires, and a resistor to light up the LED. With wires, the battery was connected to the breadboard. Wires were used as a flow path to the LED, and a resistor was placed either before or after (either works) the LED so that the intensity of the battery would not blow out the light. The final activity I did was using Arduino. After typing into the program on my computer, and connected it to the breadboard, the light on the breadboard flickered – with delays corresponding to what I typed into the program.
One element that I learned was how to utilize all of our tools. Unlike the first activity, I was able to use many of the different wires. I learned that in order to make an effective circuit you may need to use more wires than you need. I learned that specifically in the battery/switch/LED activity (picture below), because originally in the video only two wires were used, but in the end three were used to make a more effective circuit. I also learned the difference between the different types of wires wires and how to use them depending on the situation.
Another element I learned was how to create a circuit on a breadboard. I learned that in order for the battery’s power to travel to the LED, the connecting wires must be placed in the same column or row as the next, to create a smooth path. This is shown in the picture below.

Another element that I learned was how to use Arduino. At first it seemed pretty complex, with all the typing of terms I didn’t know, but when I followed along with the video I got the hang of it. Specifically, I learned how to change the delay times so that the LED would flicker either faster or slower.
Overall, I think that this is activity was a very good overview of use of LEDS, breadboards, Arduino, and just creating and understanding a circuit.