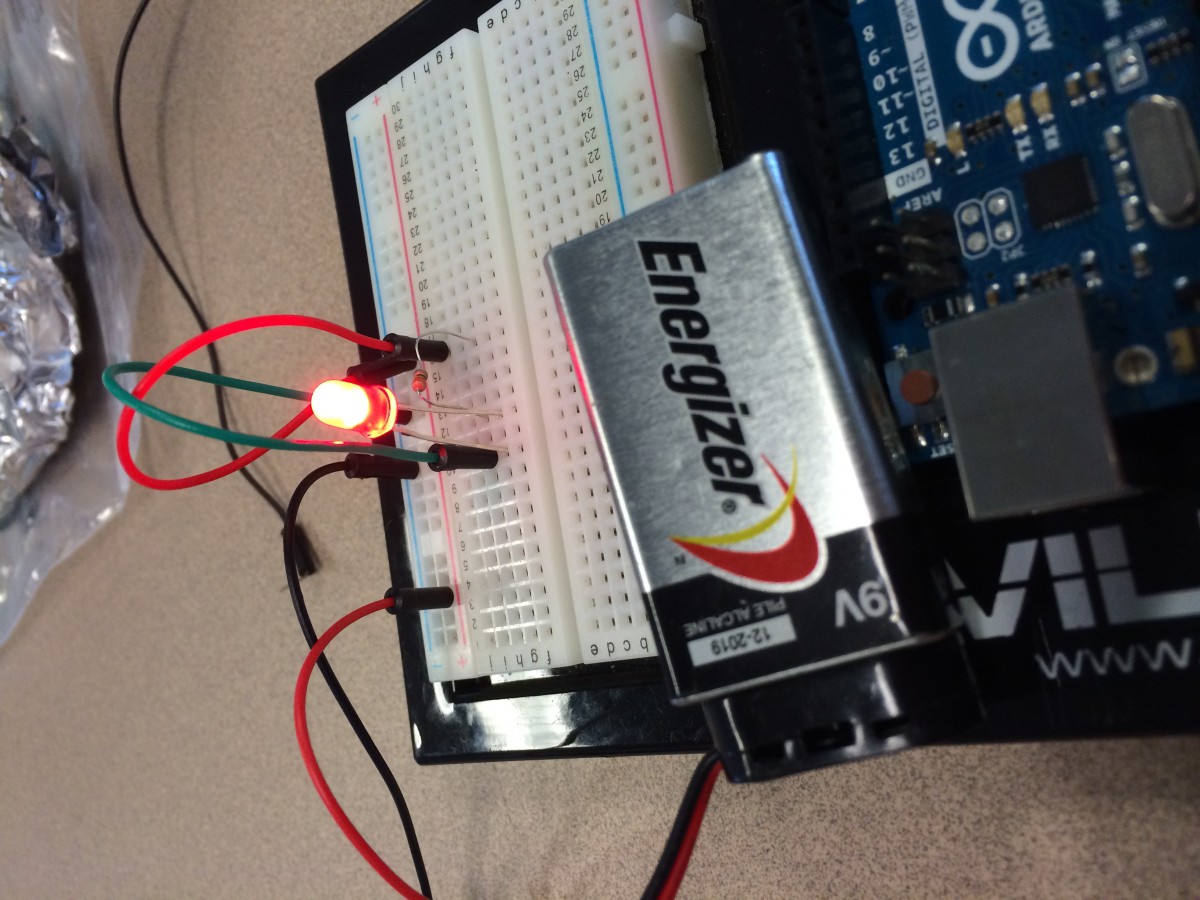
This week in Art & Design we worked on various ways to power LED lights. We used switches, 3V batteries, bread boards, 9V batteries, many wires, and LED bulbs.
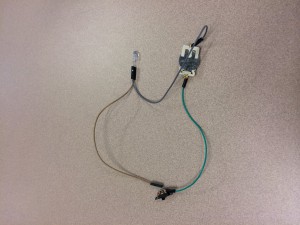
The first thing I learned was what was what. I now know which wires to use where when creating a circuit. I also learned how to connect various pieces, such as a battery or LED light, to the wires. For my first project, I used a switch to turn on and off a circuit. I learned where to put the specific positive and negative inputs and outputs and how to connect the wiring. Here is what this circuit looked like (1st switch off 2nd image switch on).

I also learned how to use a bread board, which is a piece of equipment where you can connect multiple things with each other. I connected as many LED’s as I could fit, and this was also connected to a switch. H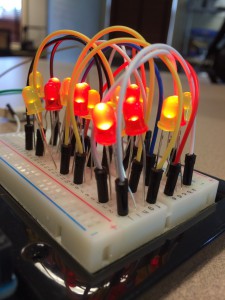 ow many LED’s can one 3V battery power?! Apparently, at least 15! (3rd image). Lastly, I learned how to use a resistor. A resistor is needed to convert the voltage from the 9V battery to a lower voltage so it won’t overpower the LED bulb, which only needs about 2-3V of power (4th image). Overall, I learned a lot about LED lights throughout this unit, and I can’t wait to do more with them!