Basketball With Finger Project

Basketball

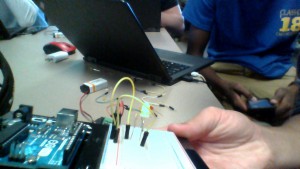
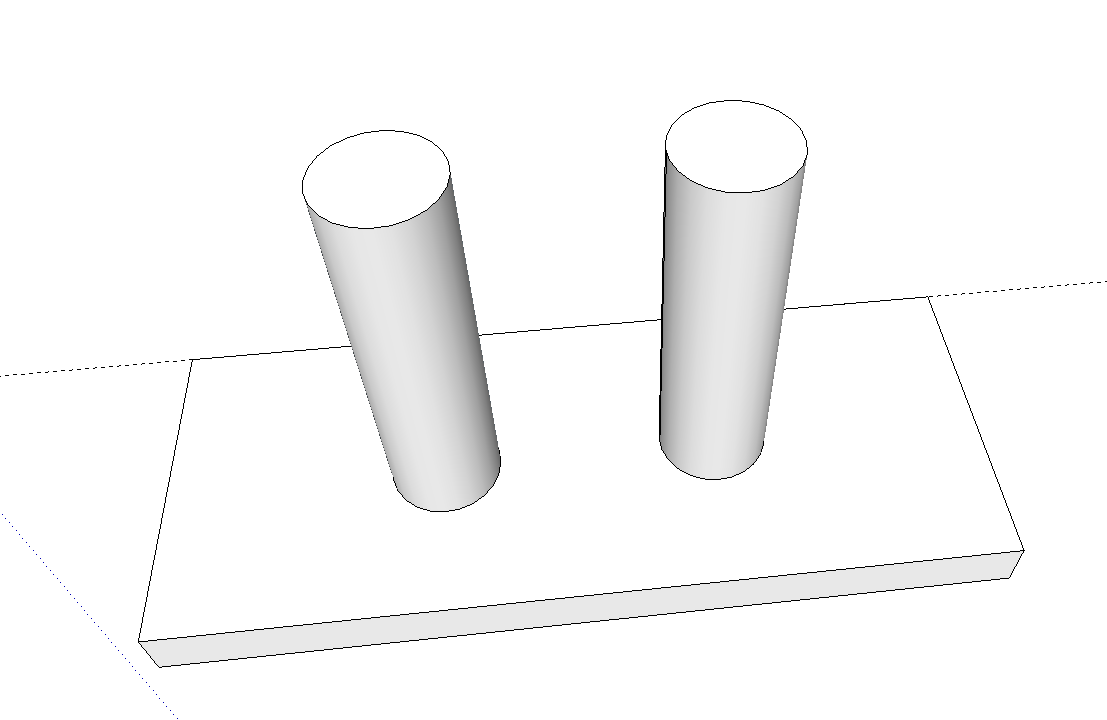
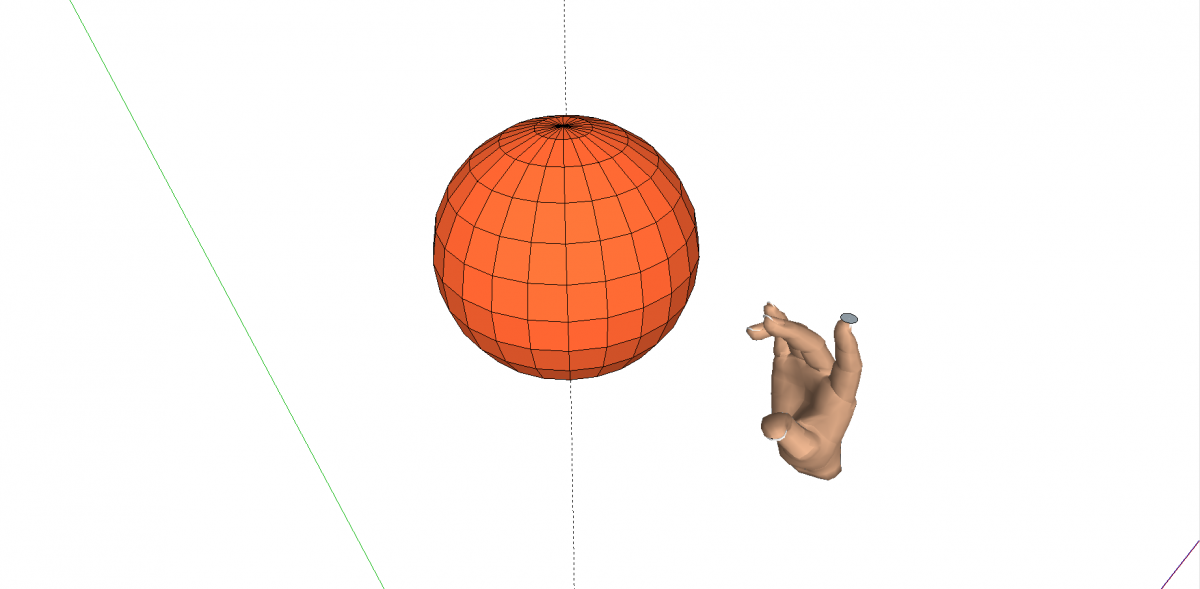
Today we created our Sketchup and we created the things we needed to make it work. We also thought about how we were to create the motor. We thought about how big we should hole for the motor to be able to function. We are now ready to 3d print our hand. We then will the motor to the finger tip. We then will make so that motor fits directly ball. The ball needs to be 3D printed as well so that the project will be complete. We also went to Ms. McDonald’s website and tried to figure out the arduino part of it but we will need some help with that.

Ideas

1: Spider Pulley

We will make a pulley attach to spiders and we will pull them up and down. We will hang this pulley on the ceiling and cover it up with fake spider web. We will also make sure that the spider is attached to the string so that it makes it look like a web.

2: Man with Basketball Spinning on Finger

We will make a finger and put a spinning motor in the tip of the finger. We will then make a basketball with the 3d printer and attach it to the spinning motor. We will us the 360 spinning motor and program it so that it turns for a certain amount of time. It will be a conversation piece. Make it so that the Globetrotters them song is playing while the ball spins on the finger. (This is the only suggestion we got from Ms. MacDonald.

3: Tape Dispenser

We will put a motor on the inside of the tape and make it spin. When you need to tape you just grab the end and let it spin and it will roll out for you. This is my least favorite because it is least creative but we needed a third idea. I feel like the struggle of trying to get tape out of dispensers is annoying and I feel like we should have it so that it isn’t difficult.

Project Ideas for LEDs and 3D Prints

My partners and I are brainstorming about projects we could make with a 3D printed design that uses LEDs:

1. 3D print a ring that will turn a certain color depending on how fast you are moving your hand

2. 3D print a ball that lights up when you throw it

3. 3D print glasses that light up every time it senses that you blink

4. 3D print a a charger that lights when you plug it in

5. 3D print a box that lights up when it opens

6. 3D print a lamp with LEDs

7. 3D print a a chair that lights up when you sit on it

8. 3D print a stick that lights up when you stick it in your mouth

9.

10.

TOP FOUR TEAM

1. LED Lamp

2. The 3D printed box

3. The 3D printed light up ball

4. Glasses that light up when you blink

TOP TABLE IDEAS

1. LED lamp

2. Light up Jewelry box (when opened)

3. Light up ball – lights when thrown

4. Glasses with lights (triggered by blinking)

5. Light up clock where numbers light up

6. Light up charger (changes based on battery level)

7. Light up phone case

8. Computer skin that lights up

9. Light up watch

10. Toy car with lights

LED it Up!

Today me and my partner  Cade learned how to light up an LED.  It took us a while but after watching some videos and following what Ms. MacDonald did we figured out how the bredboard worked. We then figured out what was required in order to light up a light. With this information we lit up many different lights at the same time and kept on adding to the bred board. I feel that it is still difficult to figure out the whole thing without the guide from Ms. MacDonald but I think I have the gist of it.

WIN_20150916_090514WIN_20150916_085328

What I Did in SketchUp Today

AAAAAAAAAAAAAAAAAAAAAAAAAToday for my group I made the overall outline of the product we did. They gave me an idea of what they wanted it to look like and I just made a simple sketch. They then went in and put in the measurements for each of the objects to make them exact. We got the overall SketchUp today and we exported it and turned it in. I think it was more difficult to get all the exact measurements and put them into the SketchUp. I am glad I didn’t have to take part in that because I would have failed.

Learning SketchUp

I learned how to build a chair without downloading off the web. I also learned how to use different functions of the program in order to bend it to your will. I was also taught how to make automatic measurements without having to drag to the precise location. I learned how to rotate objects to turn them many different ways. I was taught how to add skins to your object and how to download object off of the online web. I feel now that I can go back to SketchUp and make my own house with a reasonable amount of time and assistance. I would like to thank Ms. MacDonald for the help she has given me in order to be successful with this program later in life. STUFF

Skip to toolbar